Note: The Spotguides feature mentioned in this post is outdated and not available anymore. In case you are interested in a similar feature, contact us for details.
Spotguides are one of the most useful features of the Banzai Cloud Pipeline platform. Spotguides are managed application environments, which provide an easy and scalable way of deploying applications, and programmatically take care of all the necessary “plumbing” that is critical for production (if you missed our introductory series on Spotguides, you can catch up here).
A Spotguide defines a template for provisioning cloud resources (Kubernetes clusters, object stores, logging, monitoring, security, etc.) and specifies how applications should be deployed utilizing these resources. Launching a Spotguide instance is as easy as filling in a questionnaire. Everything else is taken care of by our platform. This mechanism not only makes it easy for users to get up and running with their applications, but through customization, it also allows companies to standardize how applications get deployed across an organization.
Up until now we only made available a few built-in Spotguides that were created and maintained by us. Based on your feedback, we recently added support for custom Spotguides as well. In this blog post you can learn about creating a Spotguide and adding it to your own Spotguide catalog through an example: a Golang Spotuide based on Modern Go Application.
Note: The Pipeline CI/CD module mentioned in this post is outdated and not available anymore. You can integrate Pipeline to your CI/CD solution using the Pipeline API. Contact us for details.
Why a Golang Spotguide? 🔗︎
Our main use-case for Spotguides is to be able to provide managed application environments to our users. Early feedback showed that there was interest in using application boilerplates as Spotguides as well, which can form the starting point for the development of full-fledged applications.
Kickstarting new applications can be cumbersome: copying a few files from an existing application, configuring CI/CD, setting up a basic “Hello World!” to prove that the application works all take time. This is why application boilerplates were invented, but even those rarely contain everything one needs (CI/CD integration, deployment configuration, instrumentation tools, etc.) and are usually hard to customize.
An application boilerplate Spotguide on the other hand can contain everything from development to deployment and by creating a new instance everything gets instantly configured, you can focus on developing your application instead of the supporting infrastructure. This is why Spring Boot and NodeJS were amongst the first Spotguides and this is why we added Go to the list next.
Having learned from past experience, we made the boilerplate easily extensible. Instrumentation (metrics, tracing, logging) is included out of the box and it comes with an easy to use development environment, so one can literally create a new application instance and start working on it within minutes (instead of hours or days). The Spotguide includes everything required to build the application on our CI/CD platform and to deploy and operate it on a Kubernetes cluster.

If you go to the Spotguide catalog now, you won’t find a Golang Spotguide there. There is a simple reason for that: we wanted to illustrate how easy it was to create and add custom Spotguides to our platform, so you will need to follow a few steps to add your own Spotguide.
(TL;DR If you can’t wait to try it, you can jump ahead to the Golang Spotguide in action section)
Creating a Spotguide 🔗︎
A Spotguide at its core is an integration of a few industry standard components into a single package:
- GitHub for storing the Spotguide template and instances
- Kubernetes for running applications
- Helm for deploying applications
- Our forked Drone based CI/CD platform for building applications and deploy artifacts (like Docker images)
- Fluentd/FluentBit for log collection
- OpenCensus for metrics and tracing
- Prometheus and Grafana for collecting and visualizing metrics
On top of these tools, there is our lightweight framework for creating setup wizards for Spotguides, called questionnaires in our terminology. Questionnaires can be used to parameterize a Spotguide template, for example choosing a Docker Hub secret or customizing application resources. Everything in the CI/CD flow and during Helm install can be parameterized by a questionnaire.
As you can see, creating a Spotguide is relatively easy since it does not require a huge amount of vendor specific knowledge: it’s based on industry standard technology with a very thin layer of integration.
There are a few formal requirements though that a Spotguide must satisfy:
- Every Spotguide file must be within a
.banzaiclouddirectory - Must contain a
README.mdfile providing a simple description/documentation for the Spotguide - Must contain an
icon.svgfile - Must contain a CI/CD configuration template in
pipeline.yaml - Must contain Spotguide configuration (eg. name) and questionnaire in
spotguide.yaml
Explaining each of these requirements is out of scope for this post.
Adding a Spotguide to your catalog 🔗︎
Previously every organization had the same list of built-in Spotguides. These Spotguides will continue to appear in the Spotguide catalog, but from now on every organization can have its own separate, unique catalog. Spotguides added by users will only show up in the organization they belong to.
In addition to the formal requirements outlined above, there are two more prerequisites for a repository to qualify as a Spotguide and appear in the Spotguide catalog:
spotguide added to the repository topics
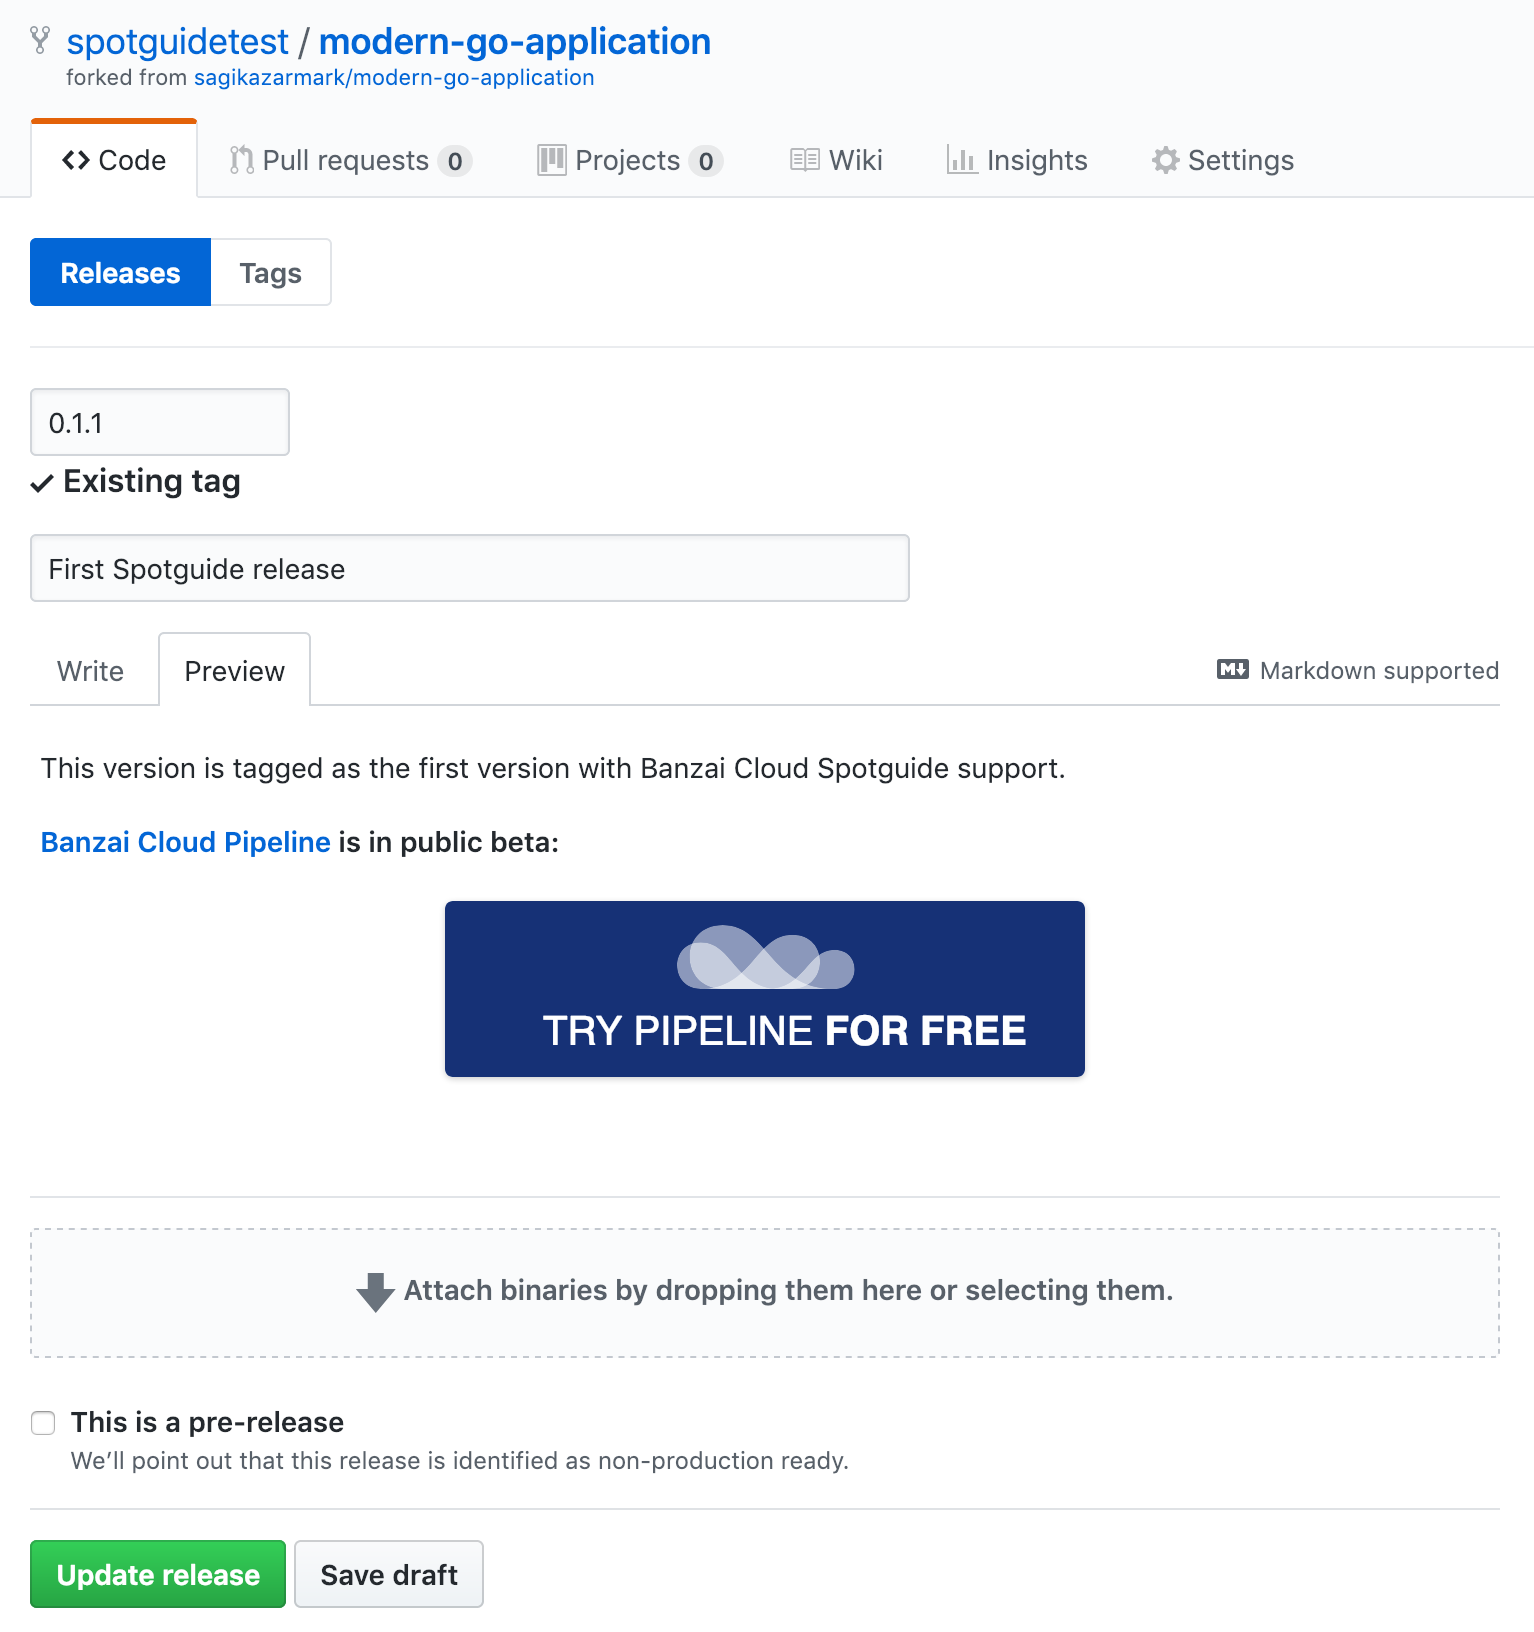
a valid semver tag AND GitHub release
You can easily add a Spotguide from a different organization by simply forking the repository, but GitHub doesn’t copy repository topics and releases, so make sure to add those manually to the forked repository.
Once a repository meets the above criteria, it will show up in the catalog after the next synchronization.
Golang Spotguide in action 🔗︎
Enough talking, let’s see how we can deploy a new instance of the Golang Spotguide.
The first step is forking the repository on GitHub (if you haven’t done it already).
As outlined above, there are two more things to do in the forked GitHub repository:
Add spotguide to the repository topics:

Create a new GitHub release from the latest tag:
Head over to the organization’s Spotguide catalog, click on either of the Create buttons, then click on the synchronization icon in the upper right corner. The Spotguide with the Go icon should show up in the list.
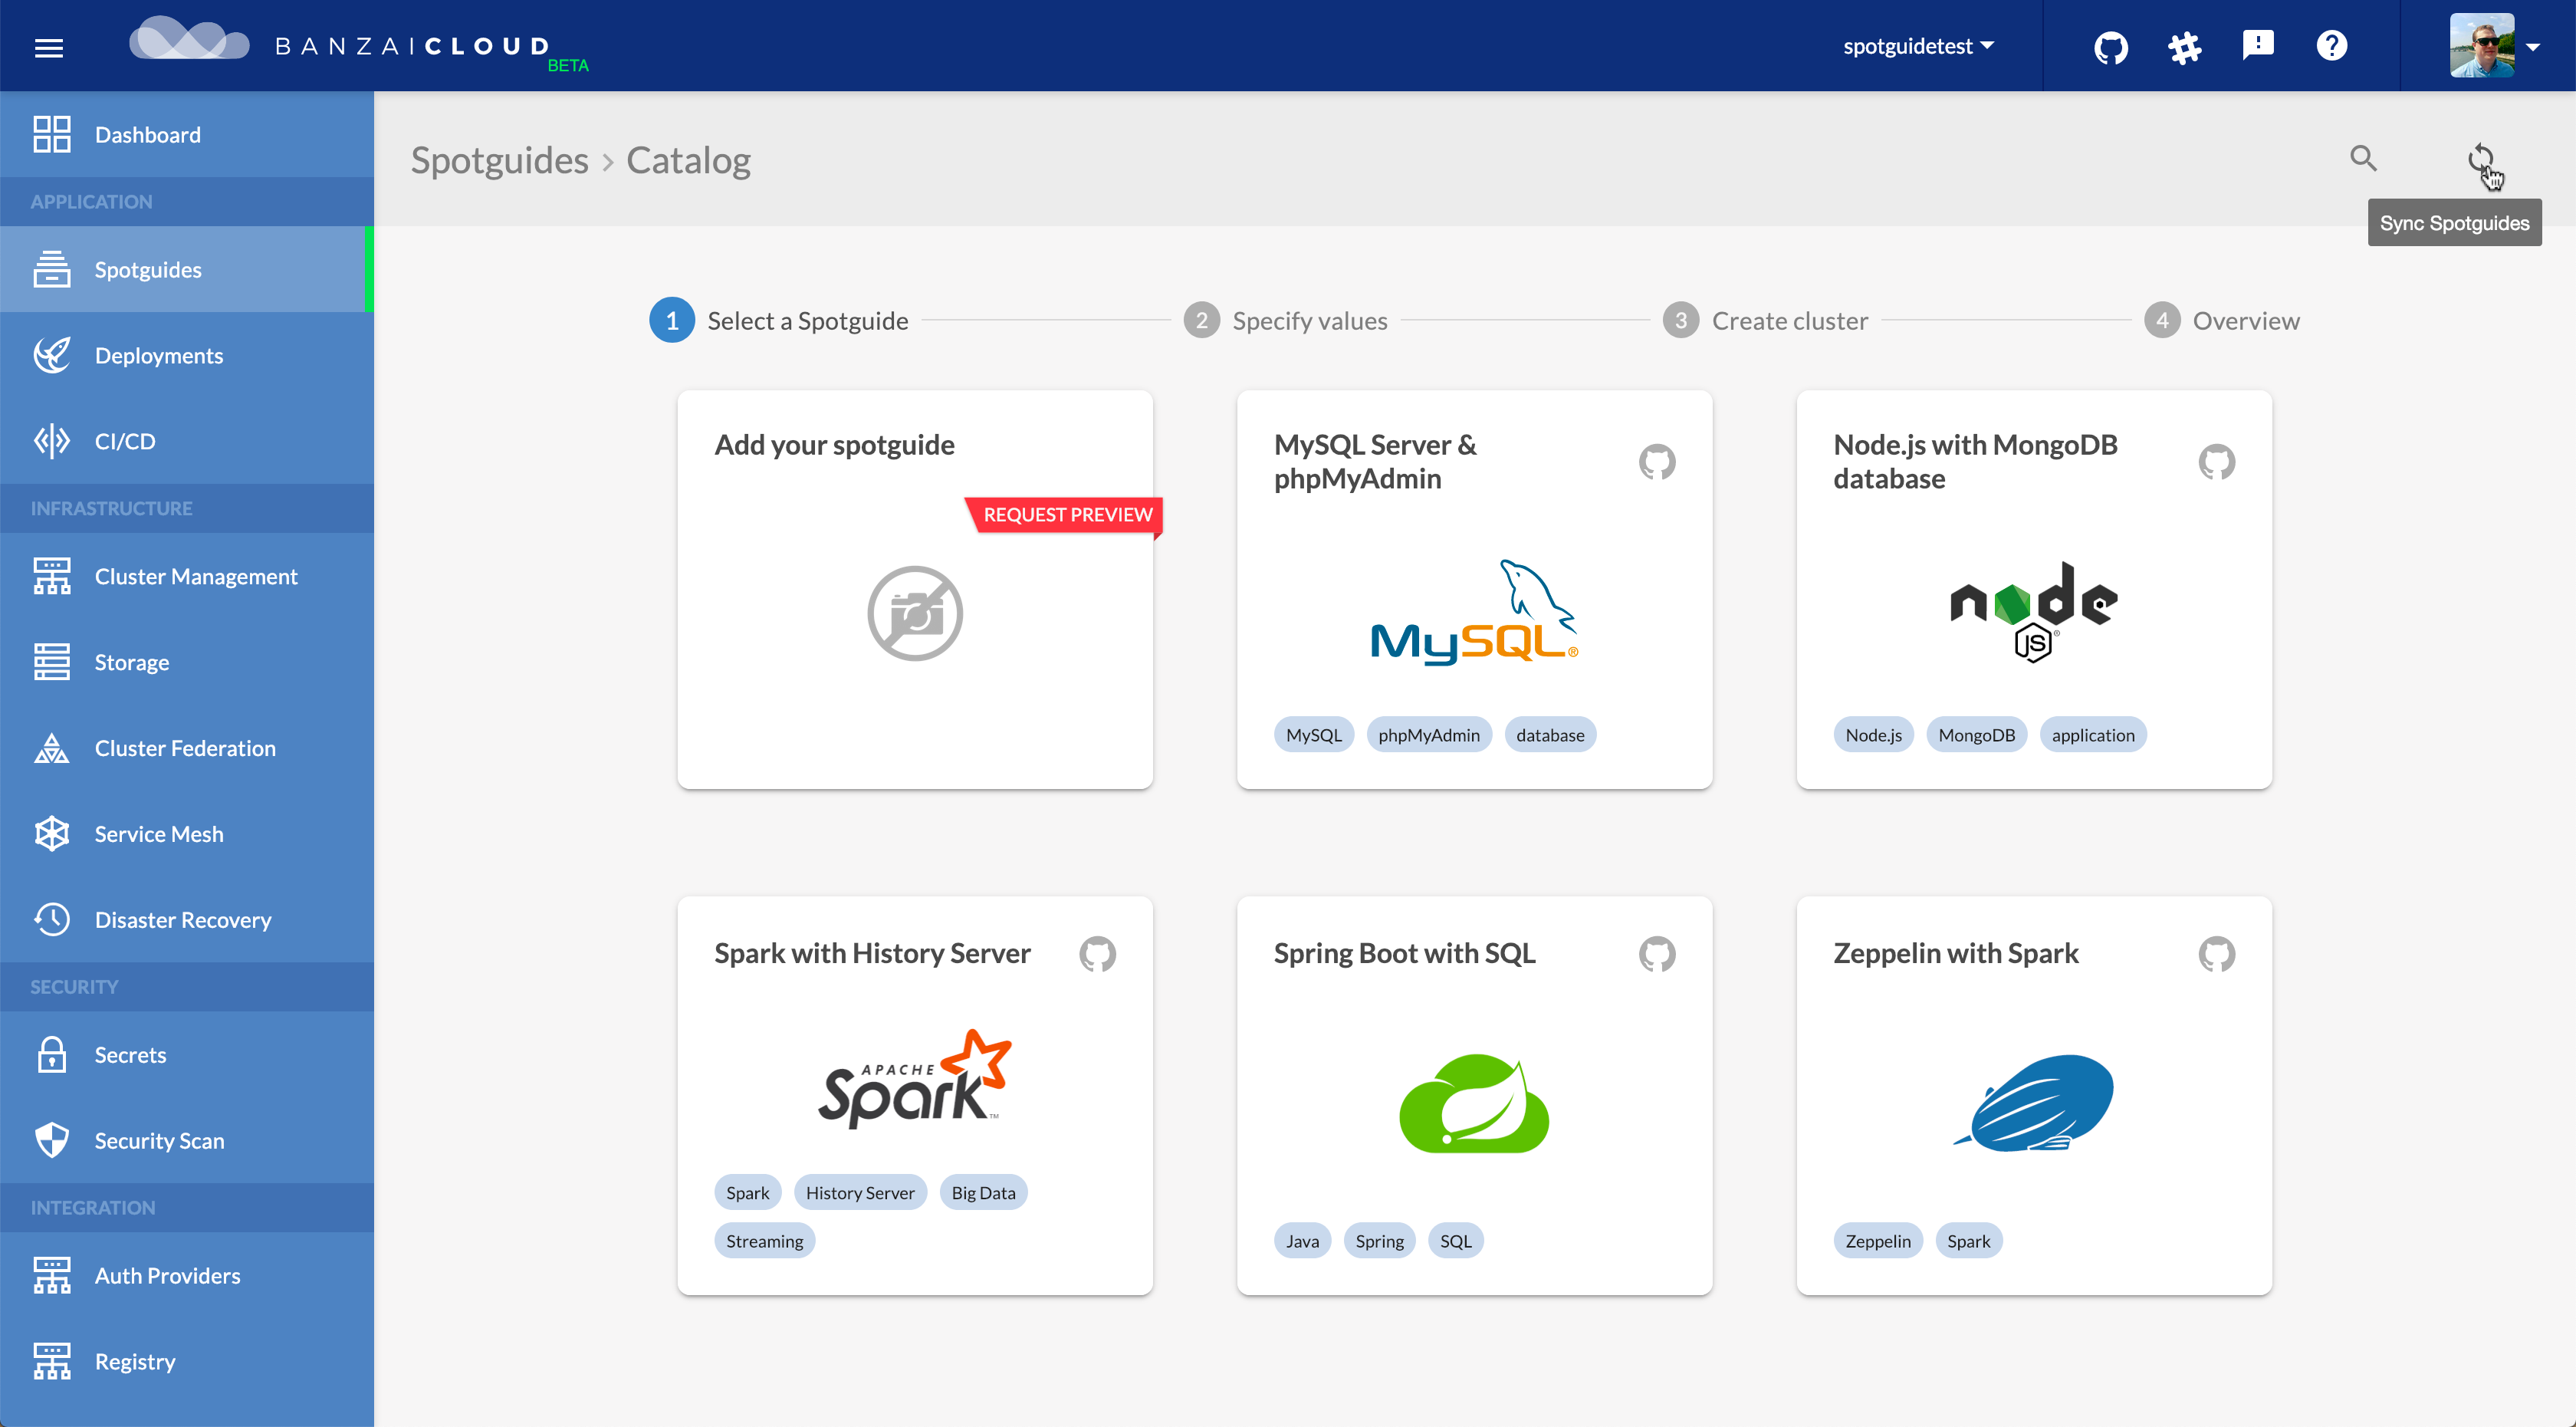
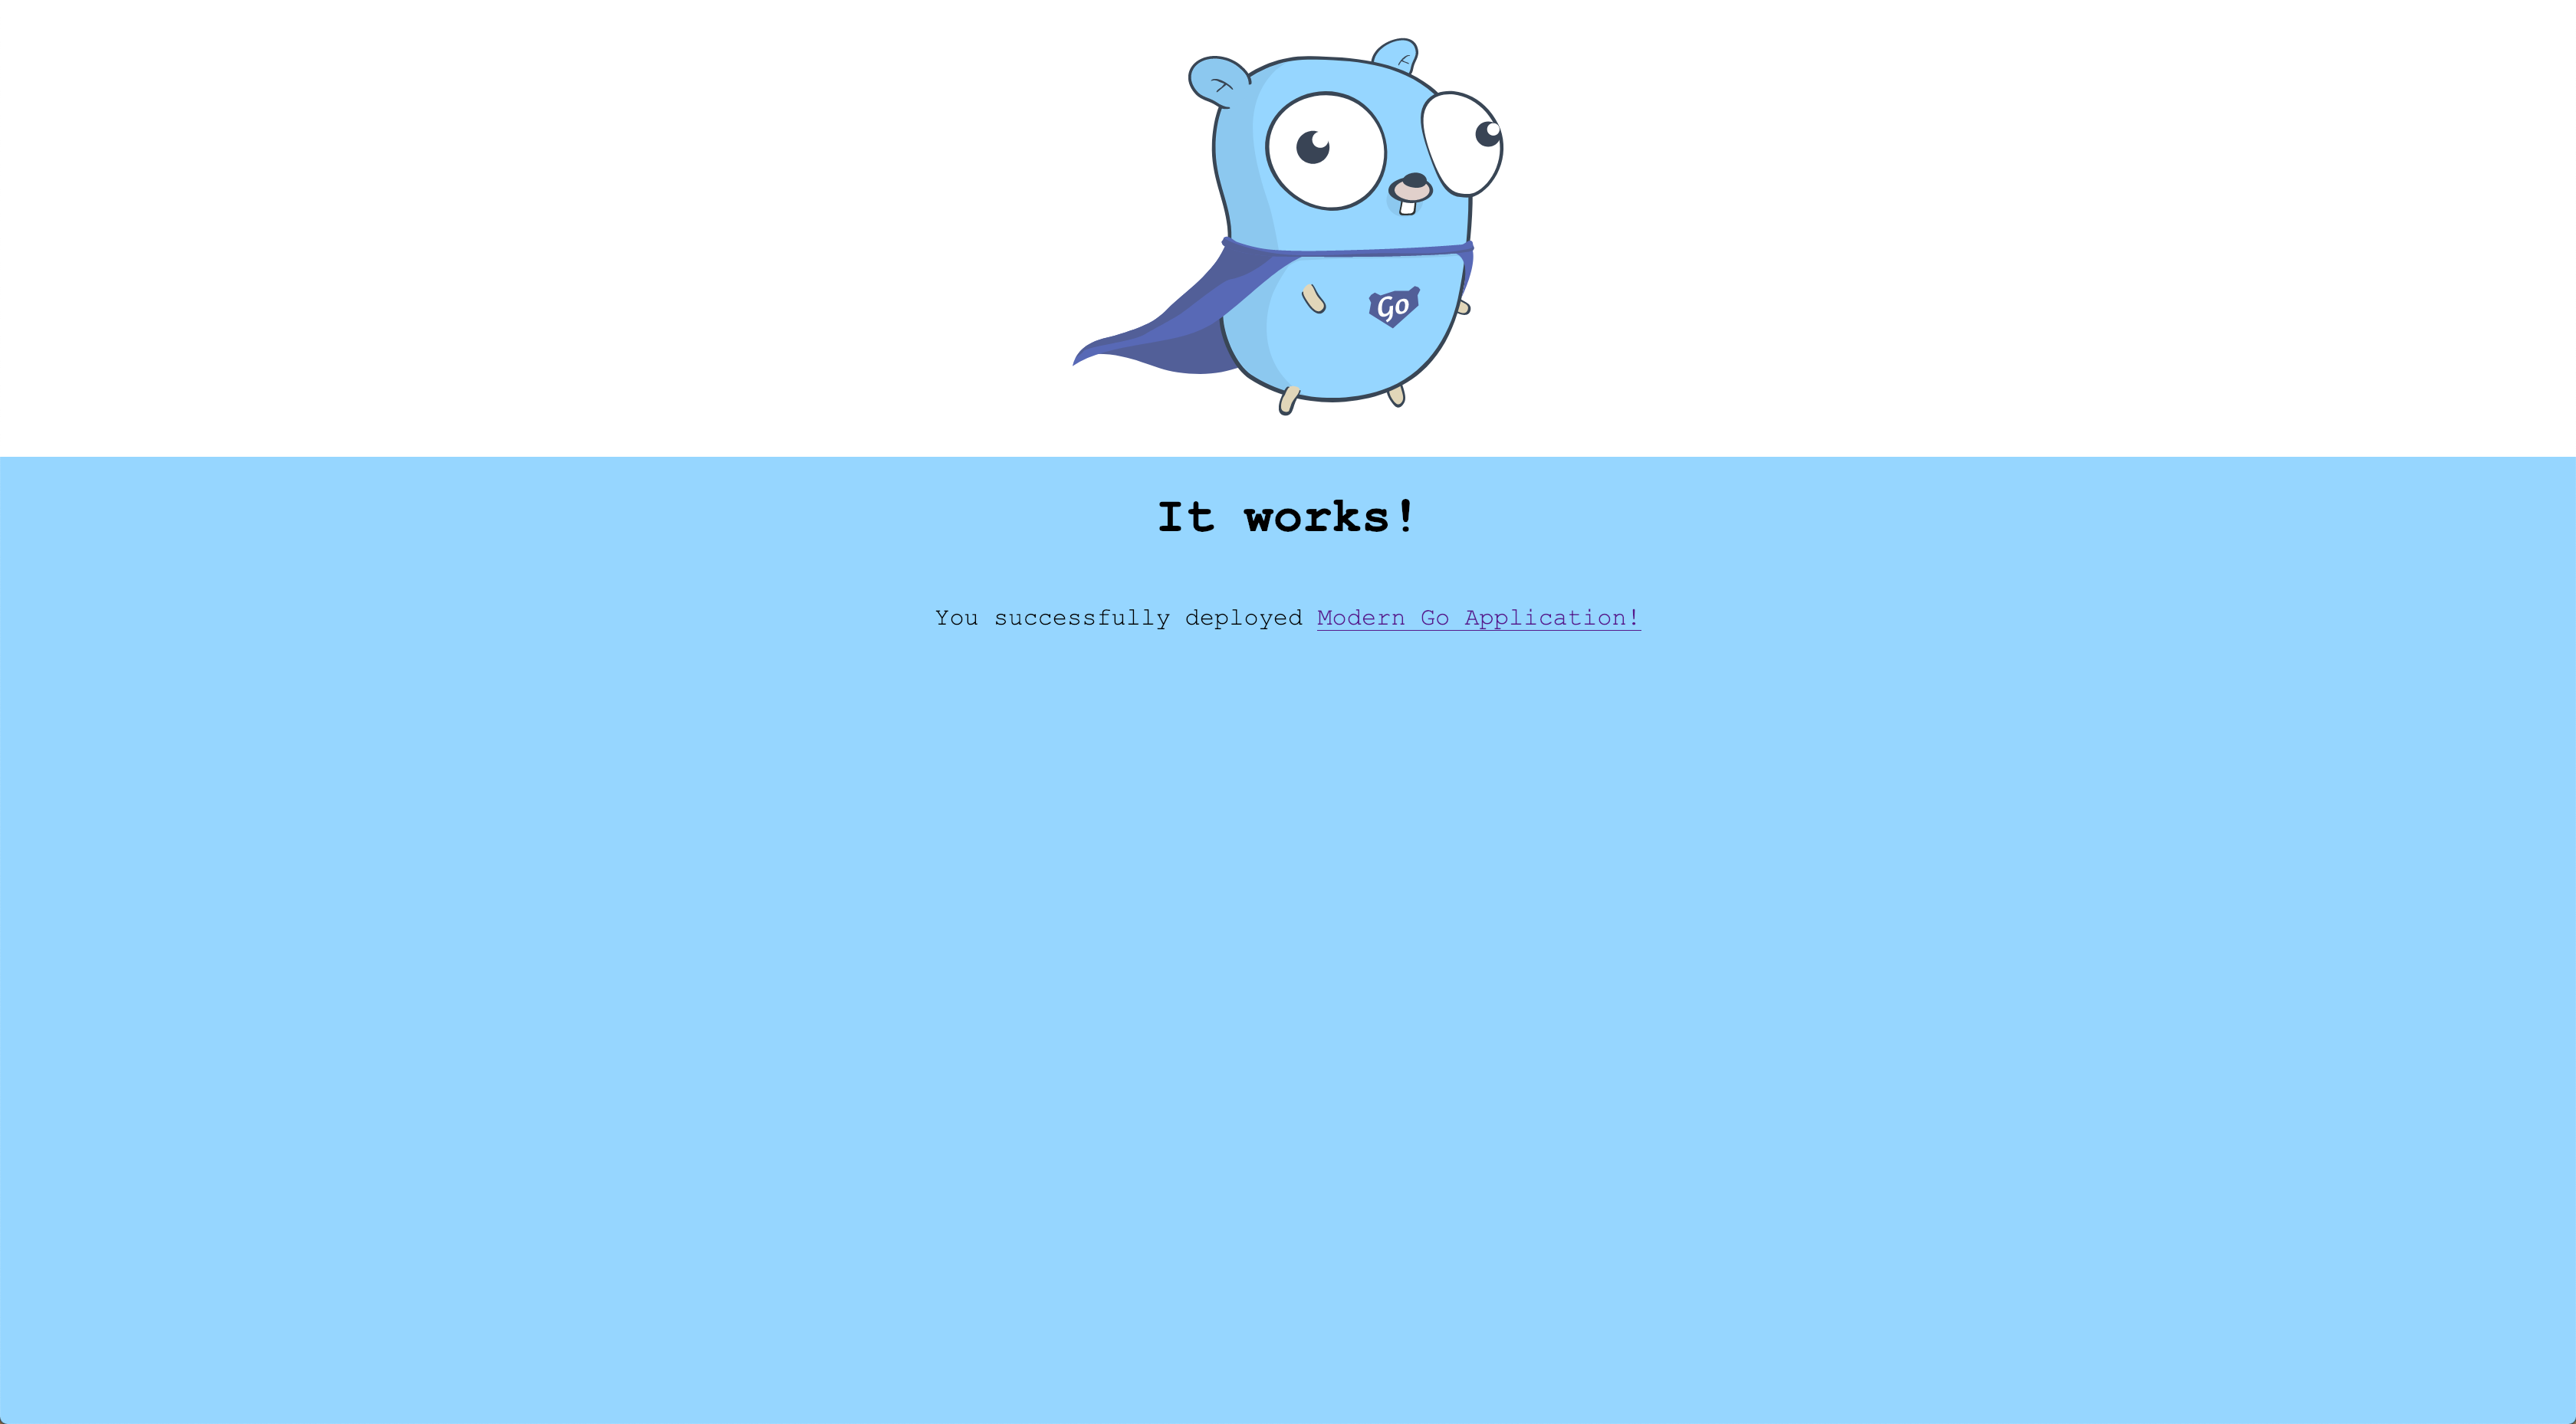
Create a new instance from the Spotguide as you would from any other Spotguide. Once the application is built and deployed, follow the link in the summary. You should see the landing page of the boilerplate.
Watch the following video to see the entire process:
A few tips 🔗︎
Last, but not least a few tips for creating Spotguides.
Create the Helm chart first 🔗︎
It’s always a good idea to start with the Helm chart. Writing good Helm charts is not easy, debugging them is even harder. By creating the chart first you save yourself a lot of time since you don’t have to rerun the CI/CD workflow if something doesn’t work right away.
Use Minikube locally or spin up a cluster using Pipeline.
Once you have a stable chart, you can move onto the next steps.
Pro tip: The Helm install output (formatted contents of NOTES.txt template) is displayed as a summary at the end of each CI/CD build, so you can put additional information there about the application (eg. mandatory first steps after installation, application URLs, etc)
Add a cluster.json file to your Spotguide 🔗︎
During the development of a Spotguide, you often need to create new instances and new clusters. Clicking through the setup wizard, downloading the cluster config and setting kubectl up all take precious time. If only there was a tool to speed up the process… well, there is. You can use the Banzai Cloud CLI tool for creating new clusters and managing the configuration for them. (To get started with the CLI tool, check out our documentation.)
To quickly create new clusters for testing, create a cluster.json file in the .banzaicloud directory with the following (or similar content):
{
   "name": "modern-go-application",
   "location": "us-central1-f",
   "cloud": "google",
   "properties": {
       "gke": {
           "master":{
               "version":"1.11"
           },
           "nodeVersion":"1.11",
           "nodePools": {
               "pool1": {
                   "autoscaling": false,
                   "minCount": 1,
                   "maxCount": 2,
                   "count": 1,
                   "instanceType": "n1-standard-2"
               }
           }
       }
   }
}
Then execute the following:
banzai cluster create -f cluster.json
It will interactively guide you through the rest of the flow, so you don’t have to configure everything in the cluster.json file (eg. selecting secrets interactively might be a good idea).
Start with a simple Spotguide, expand later 🔗︎
Don’t try to add everything into the Spotguide in a single step. Start with a simple, minimal version and make sure it’s stable and runs successfully. Write simple test scenarios and make sure those pass after each modification. (Use an existing cluster to speed up the process)
Once you have a stable Spotguide, you can add new components and options and iterate.
Choose your cluster recommendation well 🔗︎
Your application may have exceptionally low resource consumption, but if building it takes all the resources in the world your Spotguide flow won’t run on small nodes since the entire process, including all CI/CD steps are executed on your cluster. You have to take this into consideration when planning the resource recommendation for the Spotguide. In our Golang Spotguide example this means that at least one standard size node must be running on the target cluster.
Conclusion 🔗︎
Creating a new Spotguide and adding it to our platform is simple and does not require special knowledge or tools. You can easily create Spotguides for any application or boilerplate, and run them in the cloud within minutes. We encourage you to fork official Spotguides, customize them to your needs and if you find something that could be improved, contribute the change back to the original repository.
Please leave a comment here or ping us on Slack or Twitter and tell us what you think about this feature and the Golang Spotguide.


