


Business continuity is a key requirement for our enterprise users, and it becomes exponentially more important in a cloud native environment. The Banzai Cloud Platform operates in such an environment, deploying and managing large scale container-based applications. It leverages best-of-breed cloud components, such as Kubernetes, to create a highly productive, yet flexible environment, and provides a safety net to backup and restore cluster and application states during the lifecycle of the cluster.
Obviously, this is a last resort. We try to give other options to our enterprise customers with Pipeline, by:
- Operating federated clusters in multi-regions, even across hybrid or multi-cloud environments
- Pipeline’s monitoring of the stack from infra to applications, and its meaningful default alerts
- Increasing the utilization of existing infrastructure using multiple scaling strategies
- Automating the recovery process as part of a CI/CD flow
Note: The Pipeline CI/CD module mentioned in this post is outdated and not available anymore. You can integrate Pipeline to your CI/CD solution using the Pipeline API. Contact us for details.
As mentioned, monitoring is an essential part of how Pipeline operates distributed applications in production. We place a great deal of importance on, and effort into, monitoring large and federated Kubernetes clusters, and automating them with Pipeline so our users receive out of the box monitoring for free. Our customers love it when the Pipeline monitoring dashboard is covered in green status marks, which means everything is working well. Unfortunately, sooner or later something is going to go wrong, so we have to be prepared for failures and to have disaster recovery solutions at the ready.
In an effort to provide the right tools for our customers and automate and simplify the process as much as possible, Pipeline is now integrated with ARK.
Within a Kubernetes cluster, there are actually two places where states are stored. One is etcd, which stores states for cluster object specs, configmaps, secrets, etc.; the second is persistent volumes for workloads. This means that, in order to have a viable disaster recovery procedure for a Kubernetes cluster and workload, we have to deal with both.
For etcd, one method would be to backup the etcd cluster if we have direct access, but for managed Kubernetes services (EKS and the like) we might not have the access to do that. As for persistent volumes, there isn’t really one solution, but we think ARK has an excellent way of solving that.
Three major cloud providers (Google, AWS, Azure) will be supported in the initial release of the disaster recovery service, the remaining providers that Pipeline supports will follow.
In this post, we’d like to go into detail about how the Pipeline disaster recovery solution works through a simple recovery exercise.
Create a cluster 🔗︎
It’s super easy to create a Kubernetes cluster on any of the six supported cloud providers with Pipeline. For the sake of simplicity, lets stick with a Google Cloud k8s cluster created by Pipeline according to this, frankly, peerless guide.
After the cluster is successfully created, there should be a cluster within Pipeline in a RUNNING state:
{
  "status": "RUNNING",
  "statusMessage": "Cluster is running",
  "name": "dr-demo-cluster-1",
  "location": "europe-west1-c",
  "cloud": "google",
  "distribution": "gke",
  "version": "1.10.7-gke.2",
  "id": 3,
  "nodePools": {
      "pool1": {
          "count": 1,
          "instanceType": "n1-standard-2",
          "version": "1.10.7-gke.2"
      }
  },
  "createdAt": "2018-09-29T14:27:22+02:00",
  "creatorName": "waynz0r",
  "creatorId": 1,
  "region": "europe-west1"
}
The kubectl get nodes result should be something similar to:
NAME                                        STATUS    ROLES     AGE       VERSION
gke-dr-demo-cluster-1-pool1-9690f38f-0xl1   Ready     <none>    3m        v1.10.7-gke.2
Deploy a workload with state 🔗︎
For demonstration purposes, deploy some services which store their state within the cluster. For old times’ sake, let’s go with Wordpress & MySQL.
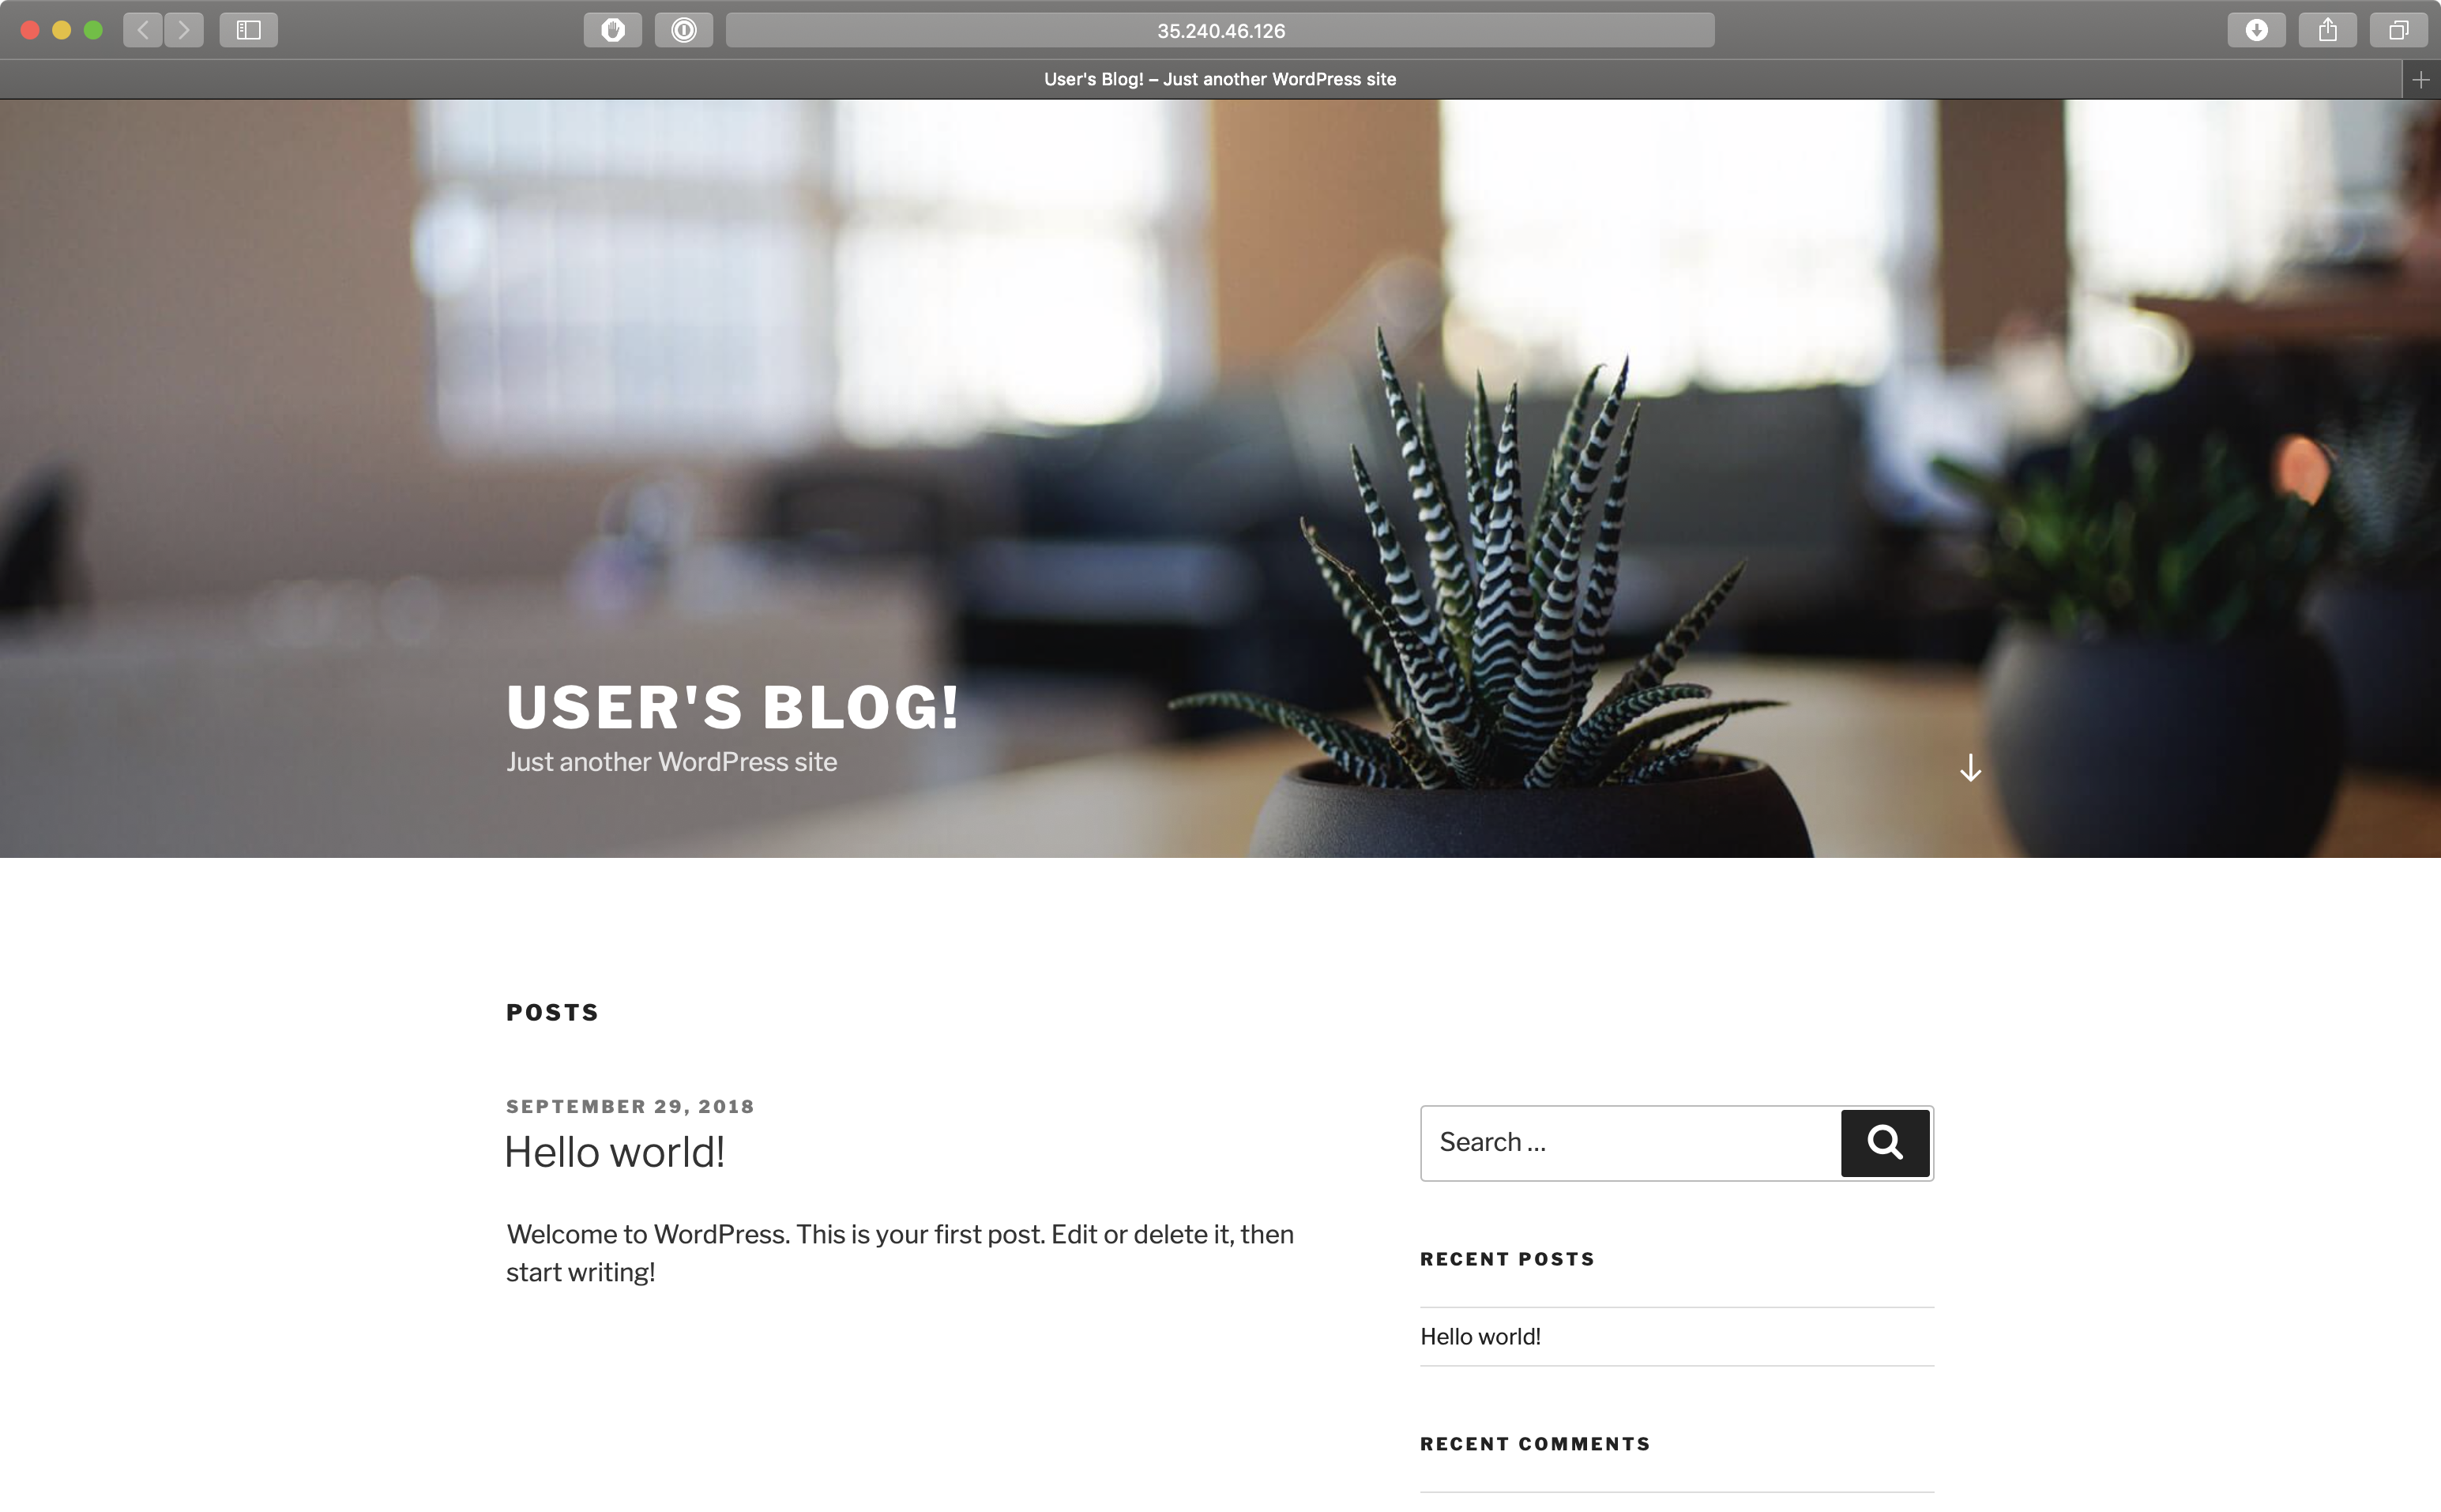
helm install --namespace wordpress stable/wordpressAfter about as long as it takes for you to have a sip of coffee, there should be an up and running Wordpress site that looks something like this:
Now, in order to turn on the disaster recovery service for that cluster, a service account and a bucket should be created on Google Cloud.
For the sake of simplicity and the convenience of dealing with familiar tools, lets stick with Google CLI. Note that Pipeline has a storage management API as well, where all of the below are automated.
BUCKET="dr-demo-backup-bucket"
SERVICE_ACCOUNT_NAME="disaster-recovery"
SERVICE_ACCOUNT_DISPLAY_NAME="DR service account"
ROLE_NAME="disaster_recovery"
PROJECT_ID="disaster-recovery-217911"
SERVICE_ACCOUNT_EMAIL=${SERVICE_ACCOUNT_NAME}@${PROJECT_ID}.iam.gserviceaccount.com
ROLE_PERMISSIONS=(
    compute.disks.get
    compute.disks.create
    compute.disks.createSnapshot
    compute.snapshots.get
    compute.snapshots.create
    compute.snapshots.useReadOnly
    compute.snapshots.delete
    compute.projects.get
)

gcloud iam service-accounts create disaster-recovery \
    --display-name "${SERVICE_ACCOUNT_DISPLAY_NAME}" \
    --project ${PROJECT_ID}

gcloud iam roles create ${ROLE_NAME} \
    --project ${PROJECT_ID} \
    --title "Disaster Recovery Service" \
    --permissions "$(IFS=","; echo "${ROLE_PERMISSIONS[*]}")"

gcloud projects add-iam-policy-binding ${PROJECT_ID} \
    --member serviceAccount:${SERVICE_ACCOUNT_EMAIL} \
    --role projects/${PROJECT_ID}/roles/${ROLE_NAME}

gsutil mb -p ${PROJECT_ID} gs://${BUCKET}
gsutil iam ch serviceAccount:${SERVICE_ACCOUNT_EMAIL}:objectAdmin gs://${BUCKET}

gcloud iam service-accounts keys create dr-credentials.json \
    --iam-account ${SERVICE_ACCOUNT_EMAIL}
The new public/private key pair will be generated and downloaded, it is the only copy of the private key.
If the service account was successfully created, the dr-credentials.json file should look something like:
{
"type": "service_account",
"project_id": "disaster-recovery-217911",
"private_key_id": "3747afe28c6a9771ee3c2bc8eed9fa76b2fa1c83",
"private_key": "-----BEGIN PRIVATE KEY-----\nprivate key\n-----END PRIVATE KEY-----\n",
"client_email": "disaster-recovery@disaster-recovery-217911.iam.gserviceaccount.com",
"client_id": "104479651398785273099",
"auth_uri": "https://accounts.google.com/o/oauth2/auth",
"token_uri": "https://oauth2.googleapis.com/token",
"auth_provider_x509_cert_url": "https://www.googleapis.com/oauth2/v1/certs",
"client_x509_cert_url": "https://www.googleapis.com/robot/v1/metadata/x509/disaster-recovery%40disaster-recovery-217911.iam.gserviceaccount.com"
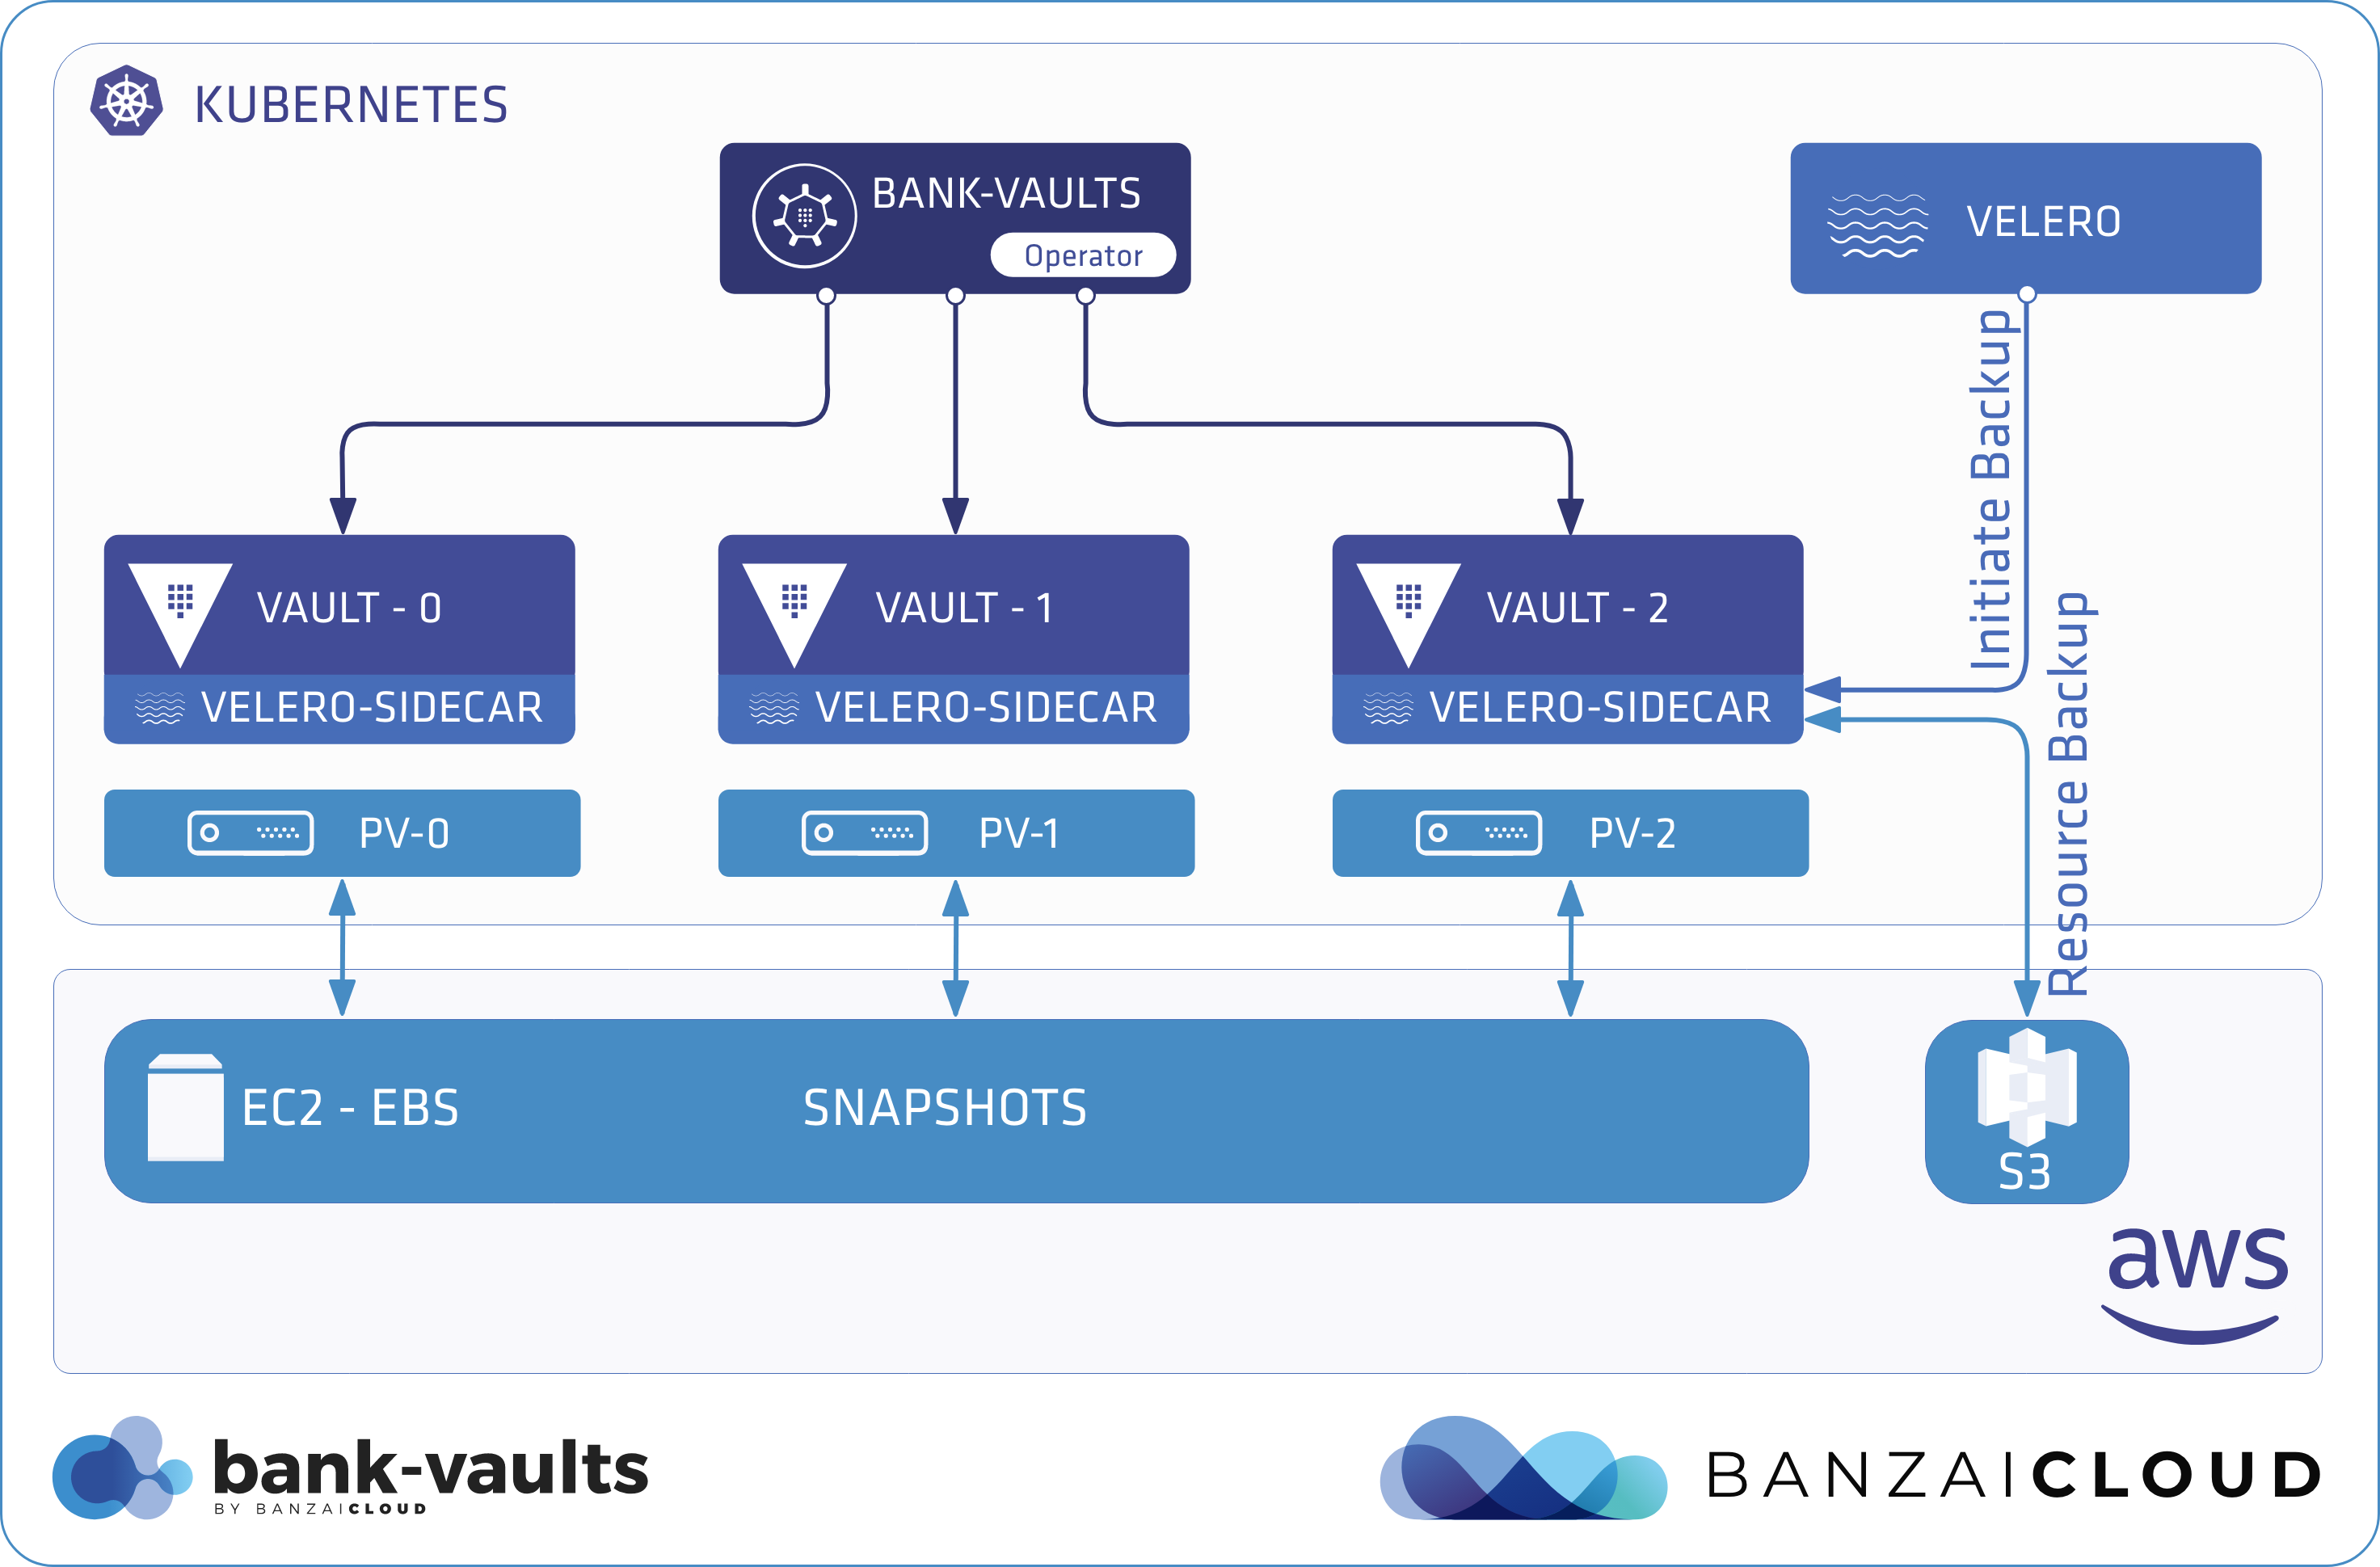
}The downloaded credentials must be added to Pipeline in order to turn on the disaster recovery service. Note that we place a great deal of emphasis on security, and store all credentials and sensitive information in Vault. These secrets are never available as environment variables, placed in files, etc. They are securely stored and retrieved from Vault using plugins and exchanged between applications or APIs behind the scenes. All heavy lifting pertaining to Vault is done by our open source project, Bank-Vaults.
Pipeline stores these secrets in Vault for later use by referring to them as secretId or secretName in subsequent API calls.
Add secret to Pipeline 🔗︎
curl -g --request POST \
  --url 'http://{{url}}/api/v1/orgs/{{orgId}}/secrets' \
  --header 'Authorization: Bearer {{token}}' \
  --header 'Content-Type: application/json' \
  -d '{
	"name": "gke-dr-secret",
	"type": "google",
	"values": {
      "type": "service_account",
      "project_id": "disaster-recovery-217911",
      "private_key_id": "3747afe28c6a9771ee3c2bc8eed9fa76b2fa1c83",
      "private_key": "-----BEGIN PRIVATE KEY-----\nprivate key\n-----END PRIVATE KEY-----\n",
      "client_email": "disaster-recovery@disaster-recovery-217911.iam.gserviceaccount.com",
      "client_id": "104479651398785273099",
      "auth_uri": "https://accounts.google.com/o/oauth2/auth",
      "token_uri": "https://oauth2.googleapis.com/token",
      "auth_provider_x509_cert_url": "https://www.googleapis.com/oauth2/v1/certs",
      "client_x509_cert_url": "https://www.googleapis.com/robot/v1/metadata/x509/disaster-recovery%40disaster-recovery-217911.iam.gserviceaccount.com"
	}
}'
{
"name": "dr-gke",
"type": "google",
"id": "e7f09fb46184b3eff0e393bf4dd10da5306fea6d6509a41dc1add213a5e57703",
"updatedAt": "2018-09-29T12:01:45.5177834Z",
"updatedBy": "waynz0r",
"version": 1
}Before we go on, let’s create a new post on our brand new Wordpress site.
Turn on disaster recovery service for the cluster 🔗︎
Turning on the disaster recovery service for a cluster is as easy as one API call. Pipeline deploys the necessary service to the cluster and creates a backup schedule entry for a full backup of the whole cluster with PV snapshots. In this example, the full backup will be created every six hours and each backup will be kept for two days.
curl -g --request POST \
  --url 'http://{{url}}/api/v1/orgs/{{orgId}}/clusters/{{clusterId}}/backupservice/enable' \
  --header 'Authorization: Bearer {{token}}' \
  --header 'Content-Type: application/json' \
  -d '{
  "cloud": "google",
  "location": "europe-west1",
  "bucketName": "dr-demo-backup-bucket",
  "secretId": "e7f09fb46184b3eff0e393bf4dd10da5306fea6d6509a41dc1add213a5e57703",
  "schedule": "0 */6 * * *",
  "ttl": "48h"
}'
The list of existing backups of a cluster is available from Pipeline with the following call:
curl -g --request GET \
  --url 'http://{{url}}/api/v1/orgs/{{orgId}}/clusters/{{clusterId}}/backups' \
  --header 'Authorization: Bearer {{token}}'
At this point there should be at least one backup, which should also contain information about the created PV snapshots.
[
    {
        "id": 18,
        "uid": "bd5531a4-c3ed-11e8-aca2-42010a8400c6",
        "name": "pipeline-full-backup-20180929134408",
        "ttl": "48h0m0s",
        "labels": {
            "ark-schedule": "pipeline-full-backup",
            "pipeline-cloud": "google",
            "pipeline-distribution": "gke"
        },
        "cloud": "google",
        "distribution": "gke",
        "options": {},
        "status": "Completed",
        "startAt": "2018-09-29T15:44:08+02:00",
        "expireAt": "2018-10-01T15:44:08+02:00",
        "volumeBackups": {
            "pvc-6958c65c-c3e3-11e8-aca2-42010a8400c6": {
                "snapshotID": "gke-dr-demo-cluster-1--pvc-89e109dd-3805-427f-9509-eead0562e772",
                "type": "https://www.googleapis.com/compute/v1/projects/disaster-recovery-217911/zones/europe-west1-c/diskTypes/pd-standard",
                "availabilityZone": "europe-west1-c"
            },
            "pvc-755e30a4-c3e4-11e8-aca2-42010a8400c6": {
                "snapshotID": "gke-dr-demo-cluster-1--pvc-12dc29ca-9d63-429c-b821-a1ede8a19de5",
                "type": "https://www.googleapis.com/compute/v1/projects/disaster-recovery-217911/zones/europe-west1-c/diskTypes/pd-standard",
                "availabilityZone": "europe-west1-c"
            },
            "pvc-756f9237-c3e4-11e8-aca2-42010a8400c6": {
                "snapshotID": "gke-dr-demo-cluster-1--pvc-bbab7387-ffe9-46a1-9e92-156f652233d3",
                "type": "https://www.googleapis.com/compute/v1/projects/disaster-recovery-217911/zones/europe-west1-c/diskTypes/pd-standard",
                "availabilityZone": "europe-west1-c"
            }
        },
        "clusterId": 3
    }
]
Something goes wrong 🔗︎
Disaster scenario 1. - accidental removal 🔗︎
There should be a wordpress namespace, within the cluster, where the invaluable Wordpress site resides.
kubectl get all --namespace wordpress
NAME                                           READY     STATUS    RESTARTS   AGE
pod/kilted-panther-mariadb-0                   1/1       Running   0          1h
pod/kilted-panther-wordpress-d7b894f64-zlqm7   1/1       Running   0          1h

NAME                               TYPE           CLUSTER-IP     EXTERNAL-IP     PORT(S)                      AGE
service/kilted-panther-mariadb     ClusterIP      10.3.248.26    <none>          3306/TCP                     1h
service/kilted-panther-wordpress   LoadBalancer   10.3.253.218   35.240.46.126   80:32744/TCP,443:31779/TCP   1h

NAME                                       DESIRED   CURRENT   UP-TO-DATE   AVAILABLE   AGE
deployment.apps/kilted-panther-wordpress   1         1         1            1           1h

NAME                                                 DESIRED   CURRENT   READY     AGE
replicaset.apps/kilted-panther-wordpress-d7b894f64   1         1         1         1h

NAME                                      DESIRED   CURRENT   AGE
statefulset.apps/kilted-panther-mariadb   1         1         1h
Now, accidentally remove the whole namespace.
kubectl delete namespace wordpress
kubectl get all --namespace wordpress
No resources found.
Fortunately, there exists a backup of the previous state, so it is possible to rescue the namespace and, more importantly, the workload with a simple restore.
curl -g --request POST \
  --url 'http://{{url}}/api/v1/orgs/{{orgId}}/clusters/{{clusterId}}/restores' \
  --header 'Authorization: Bearer {{token}}' \
  --header 'Content-Type: application/json' \
  -d '{
	"backupName": "pipeline-full-backup-20180929134408"
}'
{
"restore": {
"uid": "dd6de79f-c3ef-11e8-aca2-42010a8400c6",
"name": "pipeline-full-backup-20180929134408-20180929155921",
"backupName": "pipeline-full-backup-20180929134408",
"status": "Restoring",
"warnings": 0,
"errors": 0,
"options": {}
},
"status": 200
}The status of the restoration process can be monitored with the following call.
curl -g --request GET \
  --url 'http://{{url}}/api/v1/orgs/{{orgId}}/clusters/{{clusterId}}/restores/pipeline-full-backup-20180929134408-20180929155921' \
  --header 'Authorization: Bearer {{token}}' \
  --header 'Content-Type: application/json'
After some time, it will enter a Completed state. There may be some warnings, but those are usually because most of the resources were present in the current state of the cluster when the restoration occurred.
{
    "uid": "dd6de79f-c3ef-11e8-aca2-42010a8400c6",
    "name": "pipeline-full-backup-20180929134408-20180929155921",
    "backupName": "pipeline-full-backup-20180929134408",
    "status": "Completed",
    "warnings": 11,
    "errors": 0,
    "options": {
        "excludedResources": [
            "nodes",
            "events",
            "events.events.k8s.io",
            "backups.ark.heptio.com",
            "restores.ark.heptio.com"
        ]
    }
}
There should be a wordpress namespace and, within it, our precious Wordpress site with all the same content it had before.
kubectl get svc --namespace wordpress
NAME                       TYPE           CLUSTER-IP     EXTERNAL-IP    PORT(S)                      AGE
kilted-panther-mariadb     ClusterIP      10.3.242.138   <none>         3306/TCP                     5m
kilted-panther-wordpress   LoadBalancer   10.3.252.33    35.205.89.72   80:31333/TCP,443:32335/TCP   5m
Disaster scenario 2. - restore into a brand new cluster 🔗︎
Since the backups are stored in object storage, they remain intact, even if the whole cluster is deleted.
curl -g --request DELETE \
  --url 'http://{{url}}/api/v1/orgs/{{orgId}}/clusters/3' \
  --header 'Authorization: Bearer {{token}}'
{
"status": 202,
"name": "dr-demo-cluster-1",
"message": "",
"id": 3
}A new Kubernetes cluster can be easily created with Pipeline, just like the last one.
The restoration process starts with a simple API call, only the id of the backup must be specified. Pipeline will deploy the disaster recovery service to the cluster in restoration mode, restore the backup contents, and delete the disaster recovery service, leaving the cluster in a clean state.
curl -g --request PUT \
--url 'http://{{url}}/api/v1/orgs/{{orgId}}/clusters/{{clusterId}}/posthooks' \
--header 'Authorization: Bearer {{token}}' \
--header 'Content-Type: application/json' \
-d '{
"RestoreFromBackup": {
"backupId": 18
}
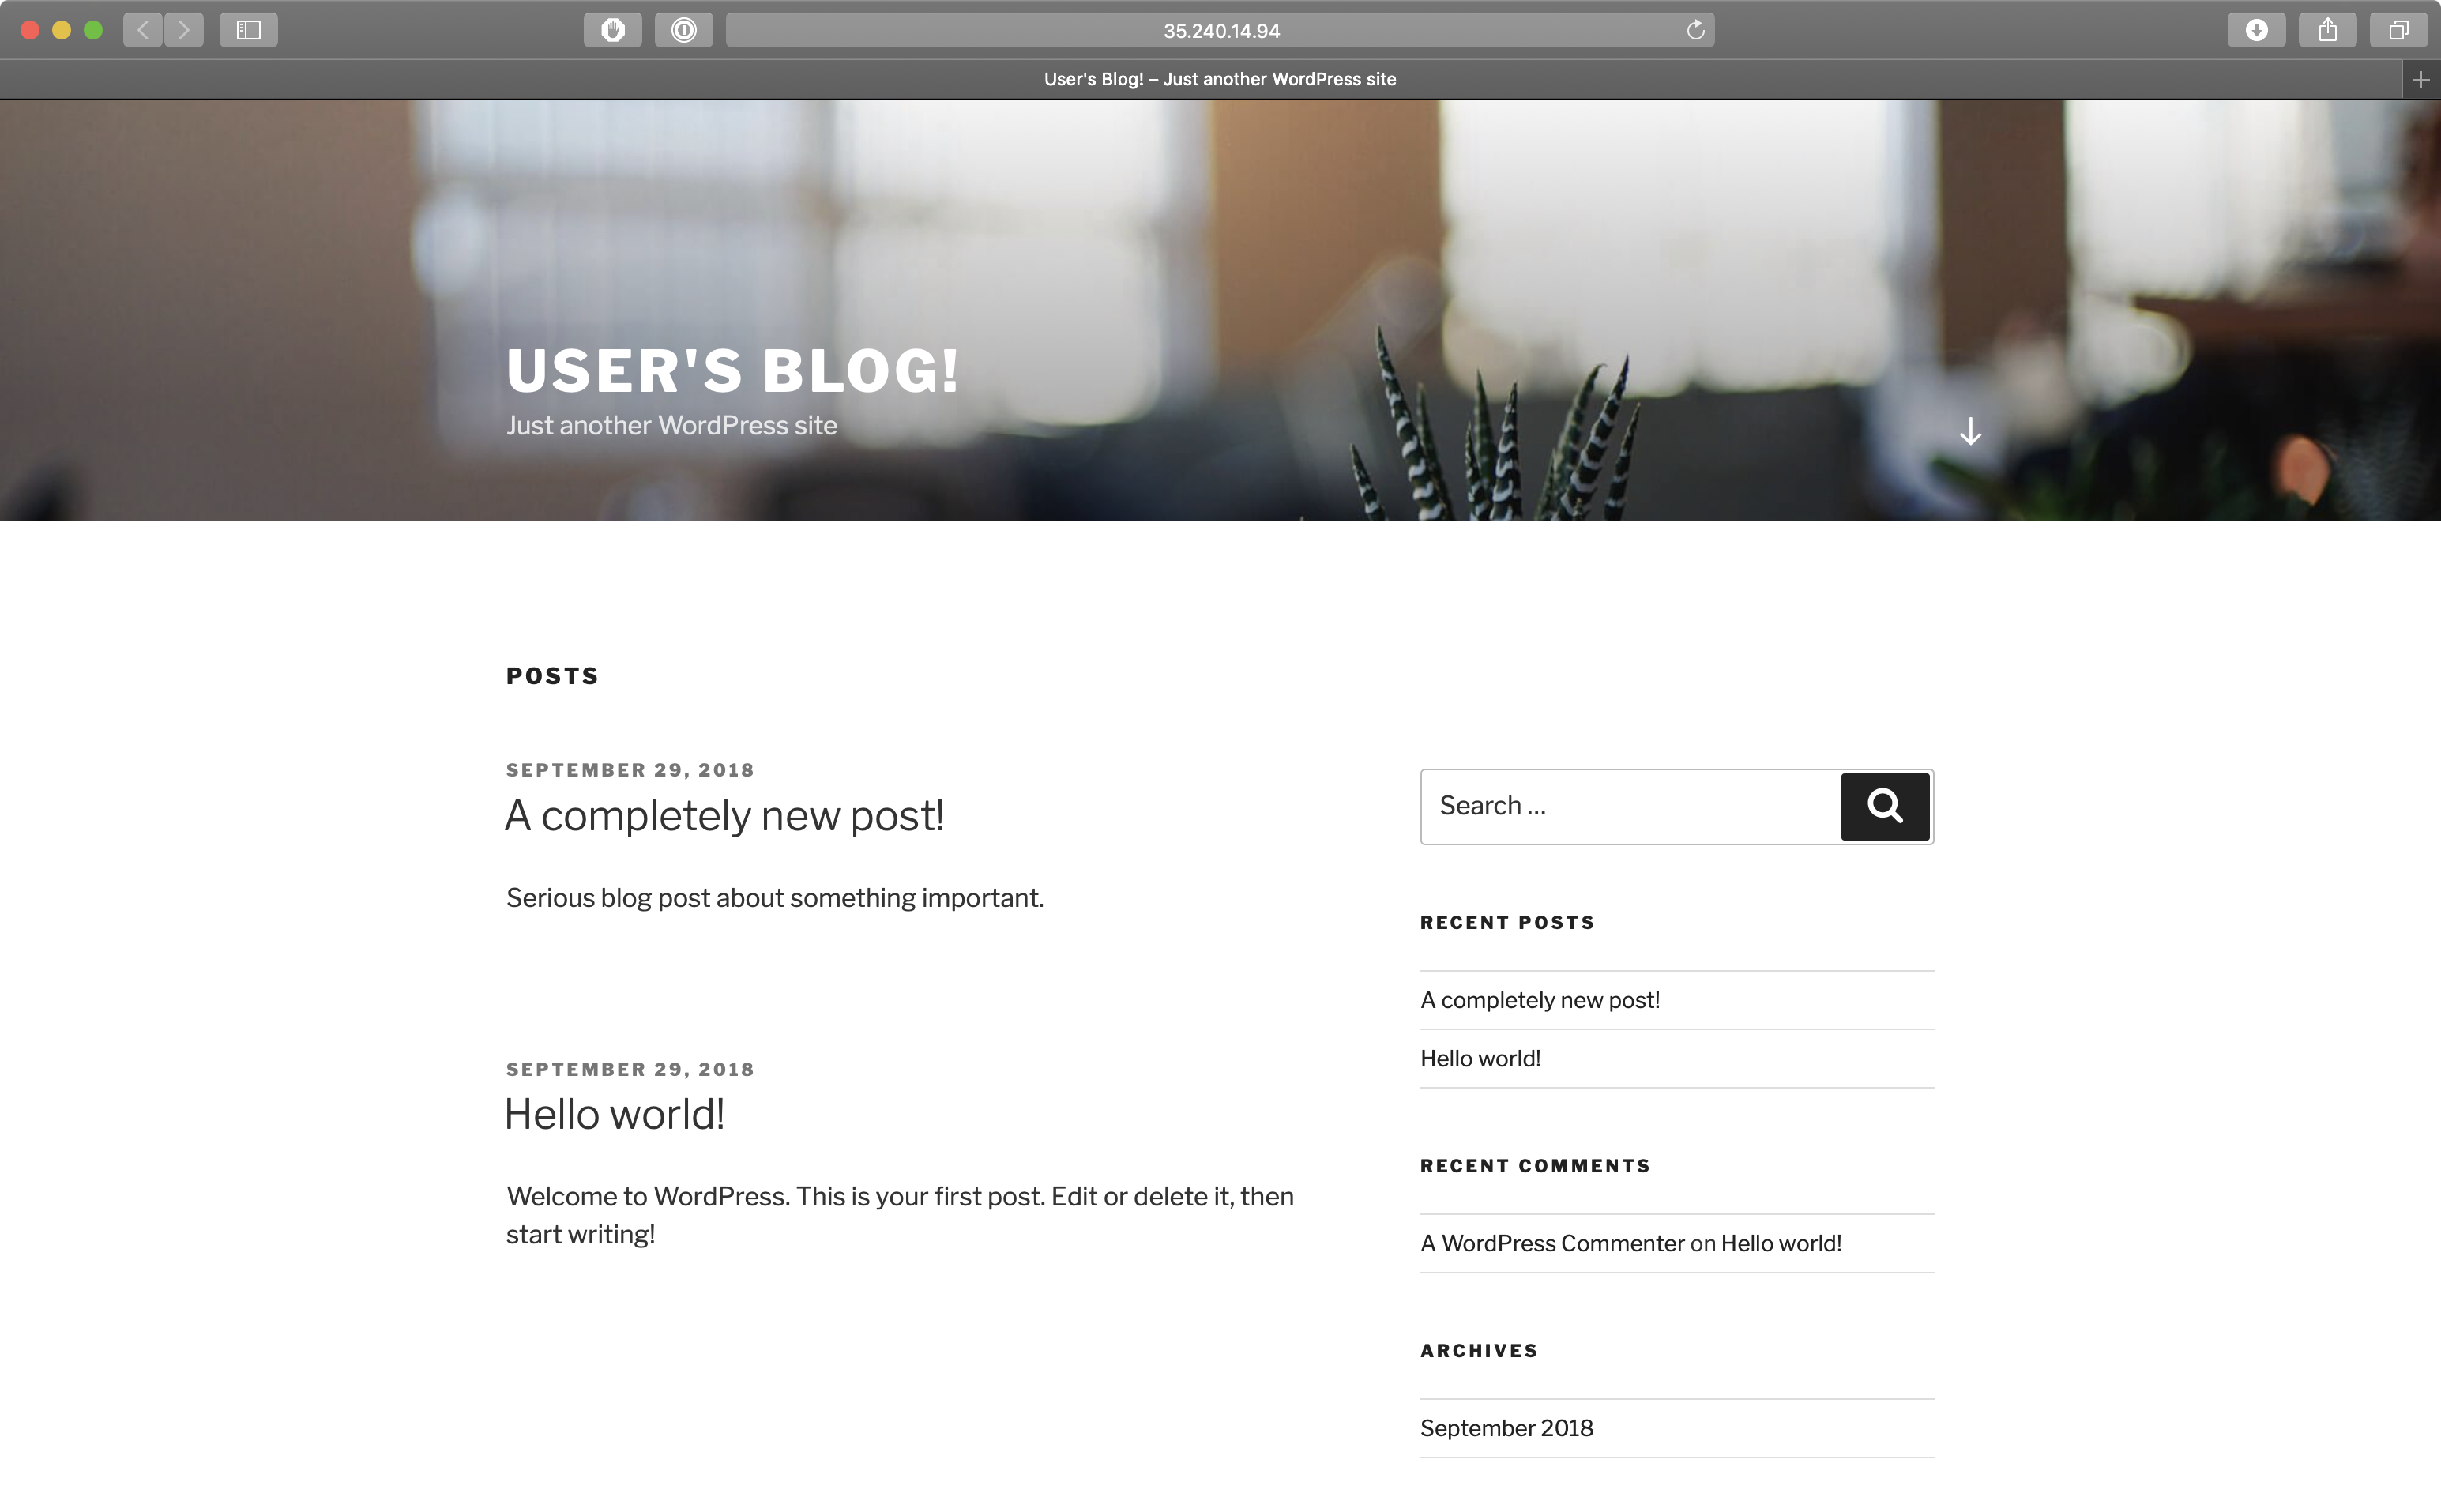
}'After the restoration process is complete, there should be a wordpress namespace in the cluster and, within it, our all-important Wordpress site - up and running.
kubectl get svc --namespace wordpress
NAME                       TYPE           CLUSTER-IP      EXTERNAL-IP    PORT(S)                      AGE
kilted-panther-mariadb     ClusterIP      10.43.244.185   <none>         3306/TCP                     2m
kilted-panther-wordpress   LoadBalancer   10.43.249.66    35.240.14.94   80:31552/TCP,443:30822/TCP   2m