

Banzai Cloud Pipeline supports multiple Kubernetes distributions and Kubernetes versions on multiple providers (see the detailed list).
Prerequisites 🔗︎
- To create and manage clusters at a cloud provider (for example, Amazon AWS or Google Cloud Platform), you need to prepare an access key at the provider with the proper privileges. For details, see the provider-specific sections of this chapter, for example, EKS.
- Add the credentials created in the previous step to Pipeline’s secret store. For details, see Creating secrets in Pipeline.
Create new cluster 🔗︎
-
Make sure that you have completed the Prerequisites, and that the secret has the privileges required to create new clusters.
-
Log in to Pipeline.
-
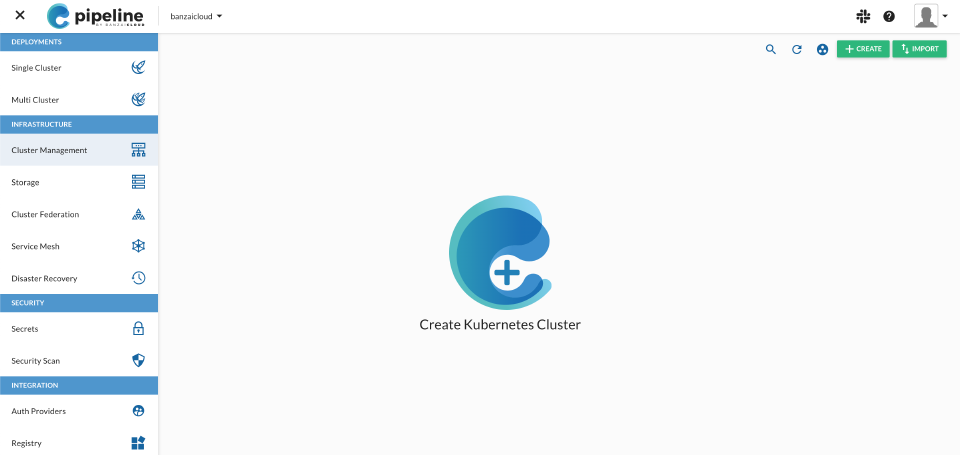
Navigate to
 > Cluster Management and click CREATE.

-
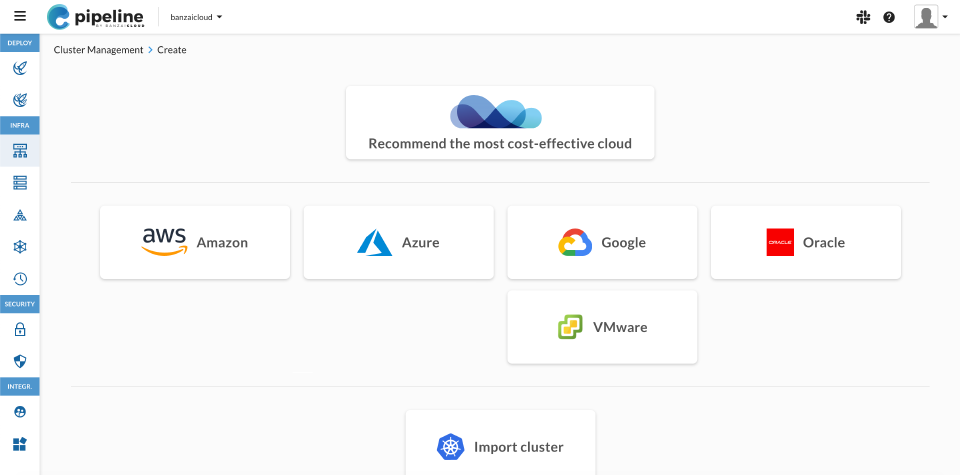
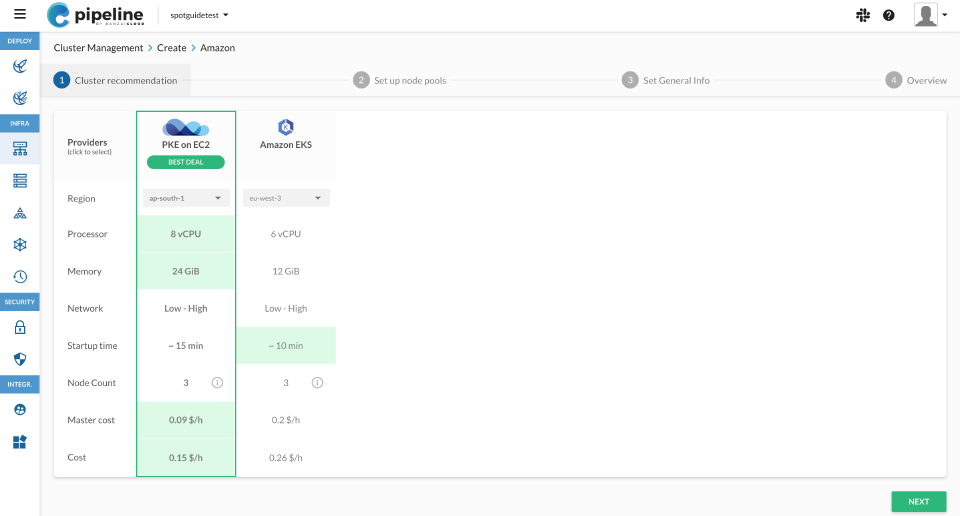
Select the provider you want to use.
- To use a specific provider, click the provider you want to use.
- Pipeline can recommend alternatives from multiple providers. To use this, click Recommend the most cost-effective cloud. For details on how cluster recommendation works, see Cluster recommendation.
- To import an existing cluster from a provider, click Import cluster. For details, see Import your existing Kubernetes cluster.

-
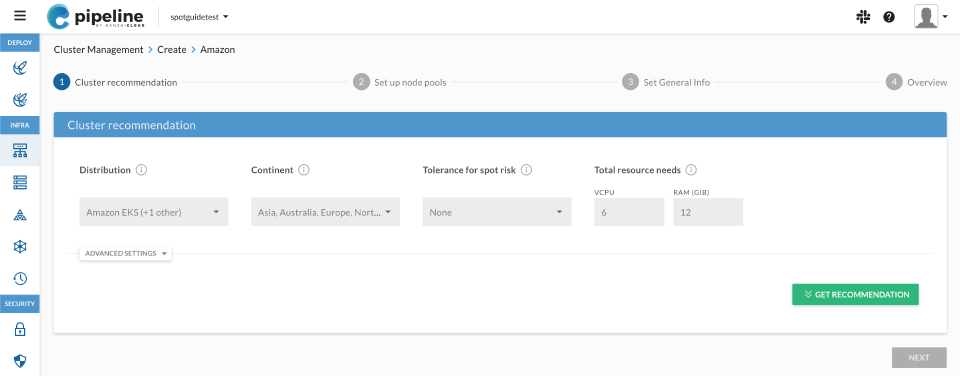
Select the Kubernetes distribution and geographic regions you want to consider: Pipeline will recommend you a cluster infrastructure based on the parameters you provide. You can use the managed offering of the provider, or Banzai Cloud PKE, our CNCF certified Kubernetes distribution.

-
(Optional) If you want to use spot (also called preemptive) instances of your provider to reduce the costs of the cluster, set the Tolerance for spot risk field.
-
Set the cluster resources (CPU and memory) you need.
-
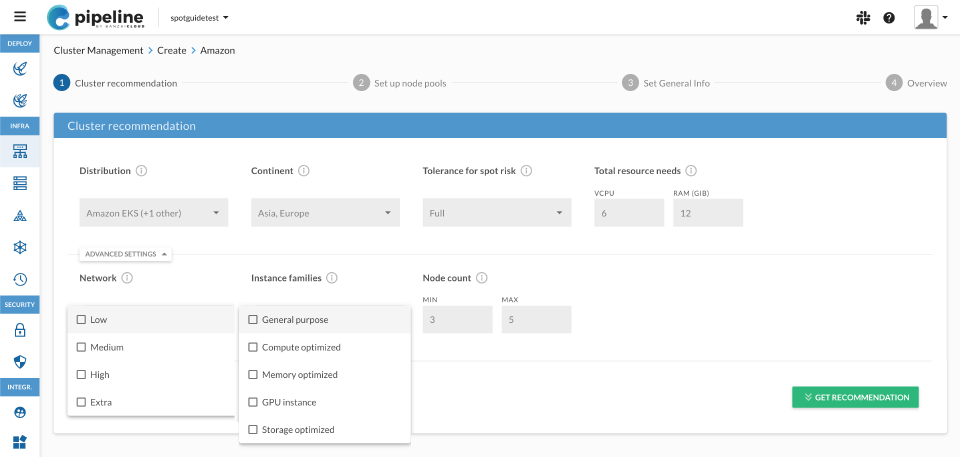
(Optional) If you want a cluster with specific network bandwidth, nodes from a specific instance family (for example, compute optimized), or adjust the number of nodes in the cluster, click ADVANCED SETTINGS and configure these parameters to suit your needs.

-
Click GET RECOMMENDATION.
-
Based on the information you have provided so far, Pipeline recommends possible cluster layouts, with startup time and cost estimates. Select the most suitable for you, then click NEXT.

-
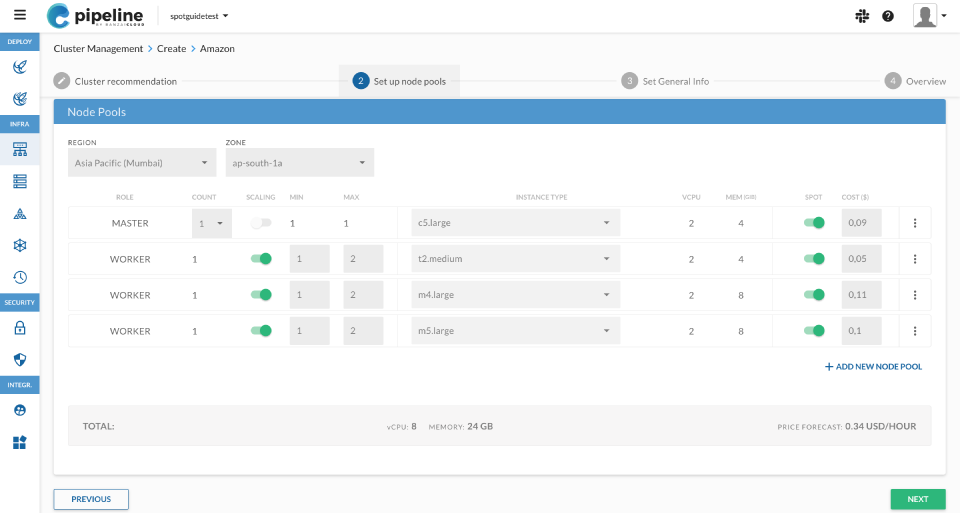
Pipeline displays the details of the node pools (number of VCPUs and memory, instance type, and so on).
- To add labels to a node, click
 > Add labels.
 - To delete an unneeded node, click > Delete.
- To add additional node pools to the cluster, click ADD NEW NODE POOL.

- To add labels to a node, click
-
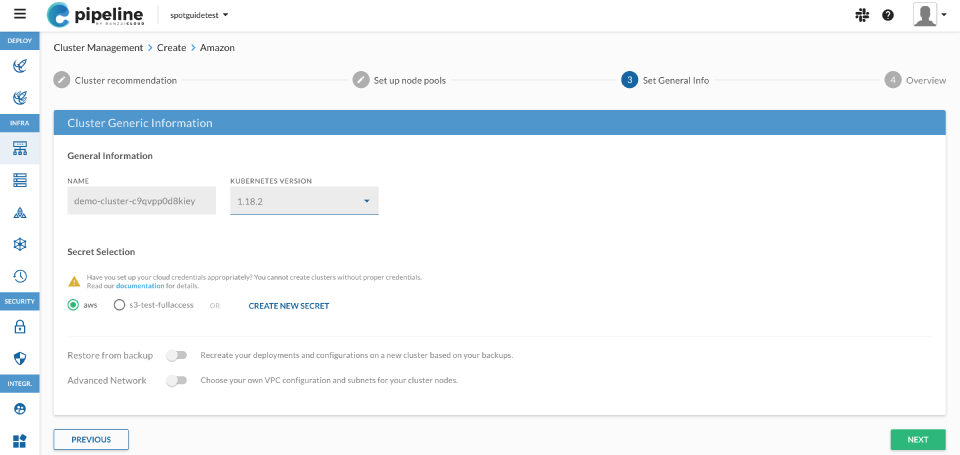
Set the name of the cluster (so you can find it easily later on the Cluster Management page), and select which Kubernetes version you want to run on the cluster, then click NEXT.

-
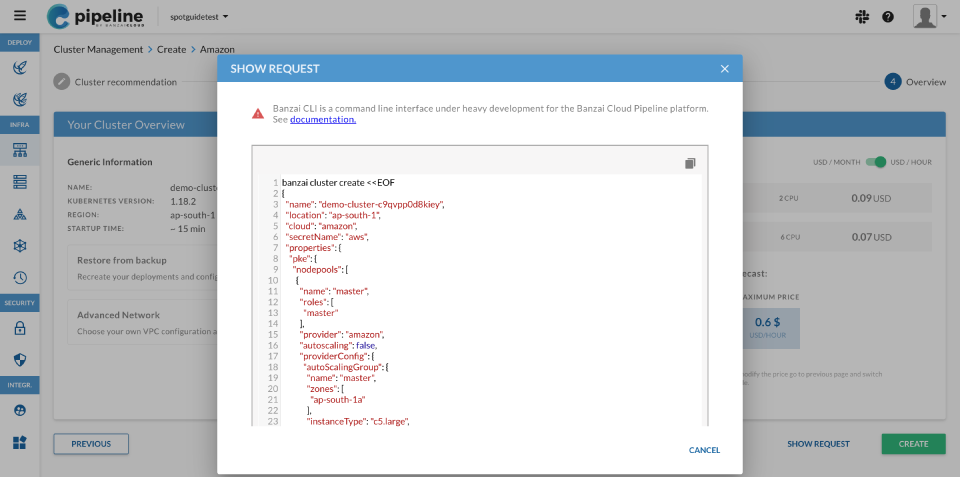
Review the settings of the cluster.
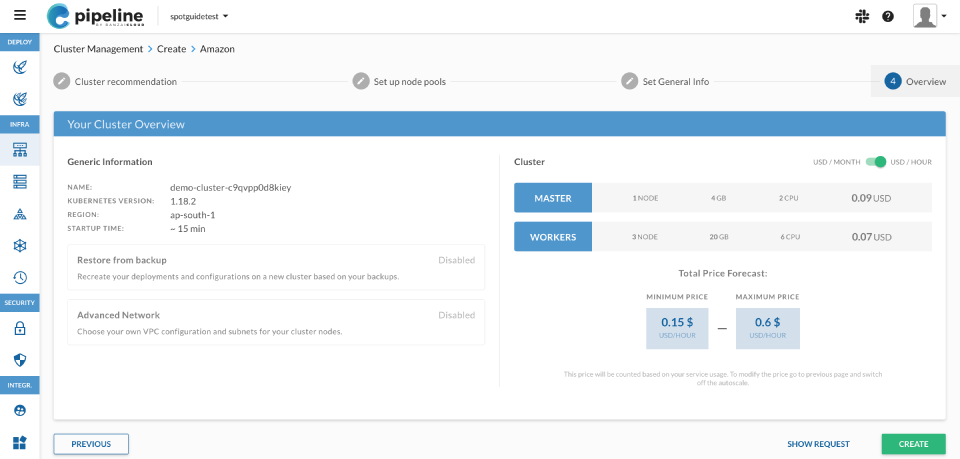

- If everything is as you wanted, click CREATE.
- To review the API request that Pipeline will use to create the cluster, click SHOW REQUEST. You can copy and modify this request and create the cluster with the modified request from the CLI for advanced and automated use cases.

-
Pipeline starts to create the cluster. Depending on your provider, this can take several minutes. Some combinations may even need up to an hour, but please, be patient. Deleting cloud resources managed by Pipeline may cause an inconsistent state and resource leaks.
-
You can start using your cluster, for example, deploy applications or configure other Pipeline features.
Create new cluster from the CLI 🔗︎
-
Make sure that you have completed the Prerequisites, and that the secret has the privileges required to create new clusters.
-
Prepare a JSON file with the options and parameters of the cluster you want to create. For details, examples, and the most common options of the different providers, see the provider-specific sections of this chapter, for example, EKS or GKE.
-
Create the cluster by running the following command:
banzai cluster create --file <path-to-JSON-file> -
Pipeline starts to create the cluster. Depending on your provider, this can take several minutes.
To check the status of the cluster, run the following command:
banzai cluster get "<cluster-name>"Once the cluster is ready, you can try to run some simple commands.
banzai cluster shellexecutes a shell within the context of the selected cluster. If you type a command in the shell opened, or pass arguments to it, it will be executed in a prepared environment. For example, you can list the nodes of the cluster using the originalkubectlcommand by running:banzai cluster shell --cluster-name "<cluster-name>" -- kubectl get nodes -
You can start using your cluster, for example, deploy applications or configure other Pipeline features.
Further reading 🔗︎
Check the provider support section for a comparison of available distributions.


