
Pipeline is a highly integrated container management and cluster orchestration platform, also capable of launching GPU-accelerated Kubernetes clusters. In order to launch a GPU cluster, you need two things:
- an instance type with GPU cores (on AWS these are
p2andp3instances) - an AMI with the necessary drivers installed (we provide those, or you can build your own)
Sadly, there is also a restriction for the container runtime: it has to be Docker. Although containerd is becoming the new standard, it doesn’t support GPU resources yet, so you need to use Docker on the GPU instances. The good news is that you don’t have to use the same runtime for every node, so you can use containerd for everything else. That being said, it usually makes sense to use a cluster for a single purpose. Note that Pipeline automatically uses Docker on GPU instances, and containerd on every other instance.
Create new cluster 🔗︎
If you want to create a GPU-accelerated cluster using the Pipeline web interface, complete the following steps. Of course, you can also do that from the command line.
-
Log in to Banzai Cloud Pipeline.
To try Pipeline in a self-hosted environment, see the documentation to install Pipeline in AWS or in a local environment.
-
Upload an AWS credential. This credential must have a number of permissions to create and manage clusters. If you want to create a more restricted user, see the documentation for details.
-
Select
 > Create cluster > CREATE.
-
You want to create a cluster on Amazon that uses the PKE distribution, so select Distribution > Amazon PKE.
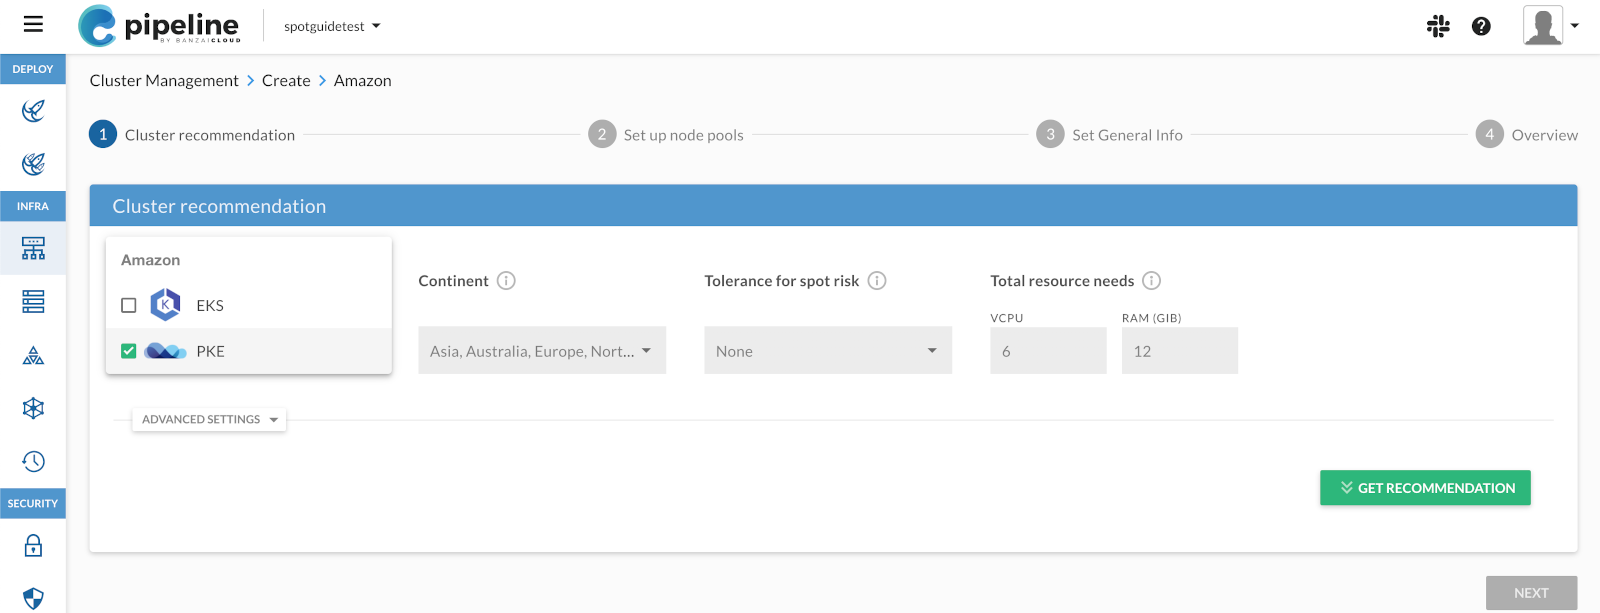
-
Click GET RECOMMENDATION, select the region you want to use, then click NEXT.
-
GPU instances are usually not available in
azones, so make sure to set the ZONE field to a zone where they are available (for example,eu-west-1c).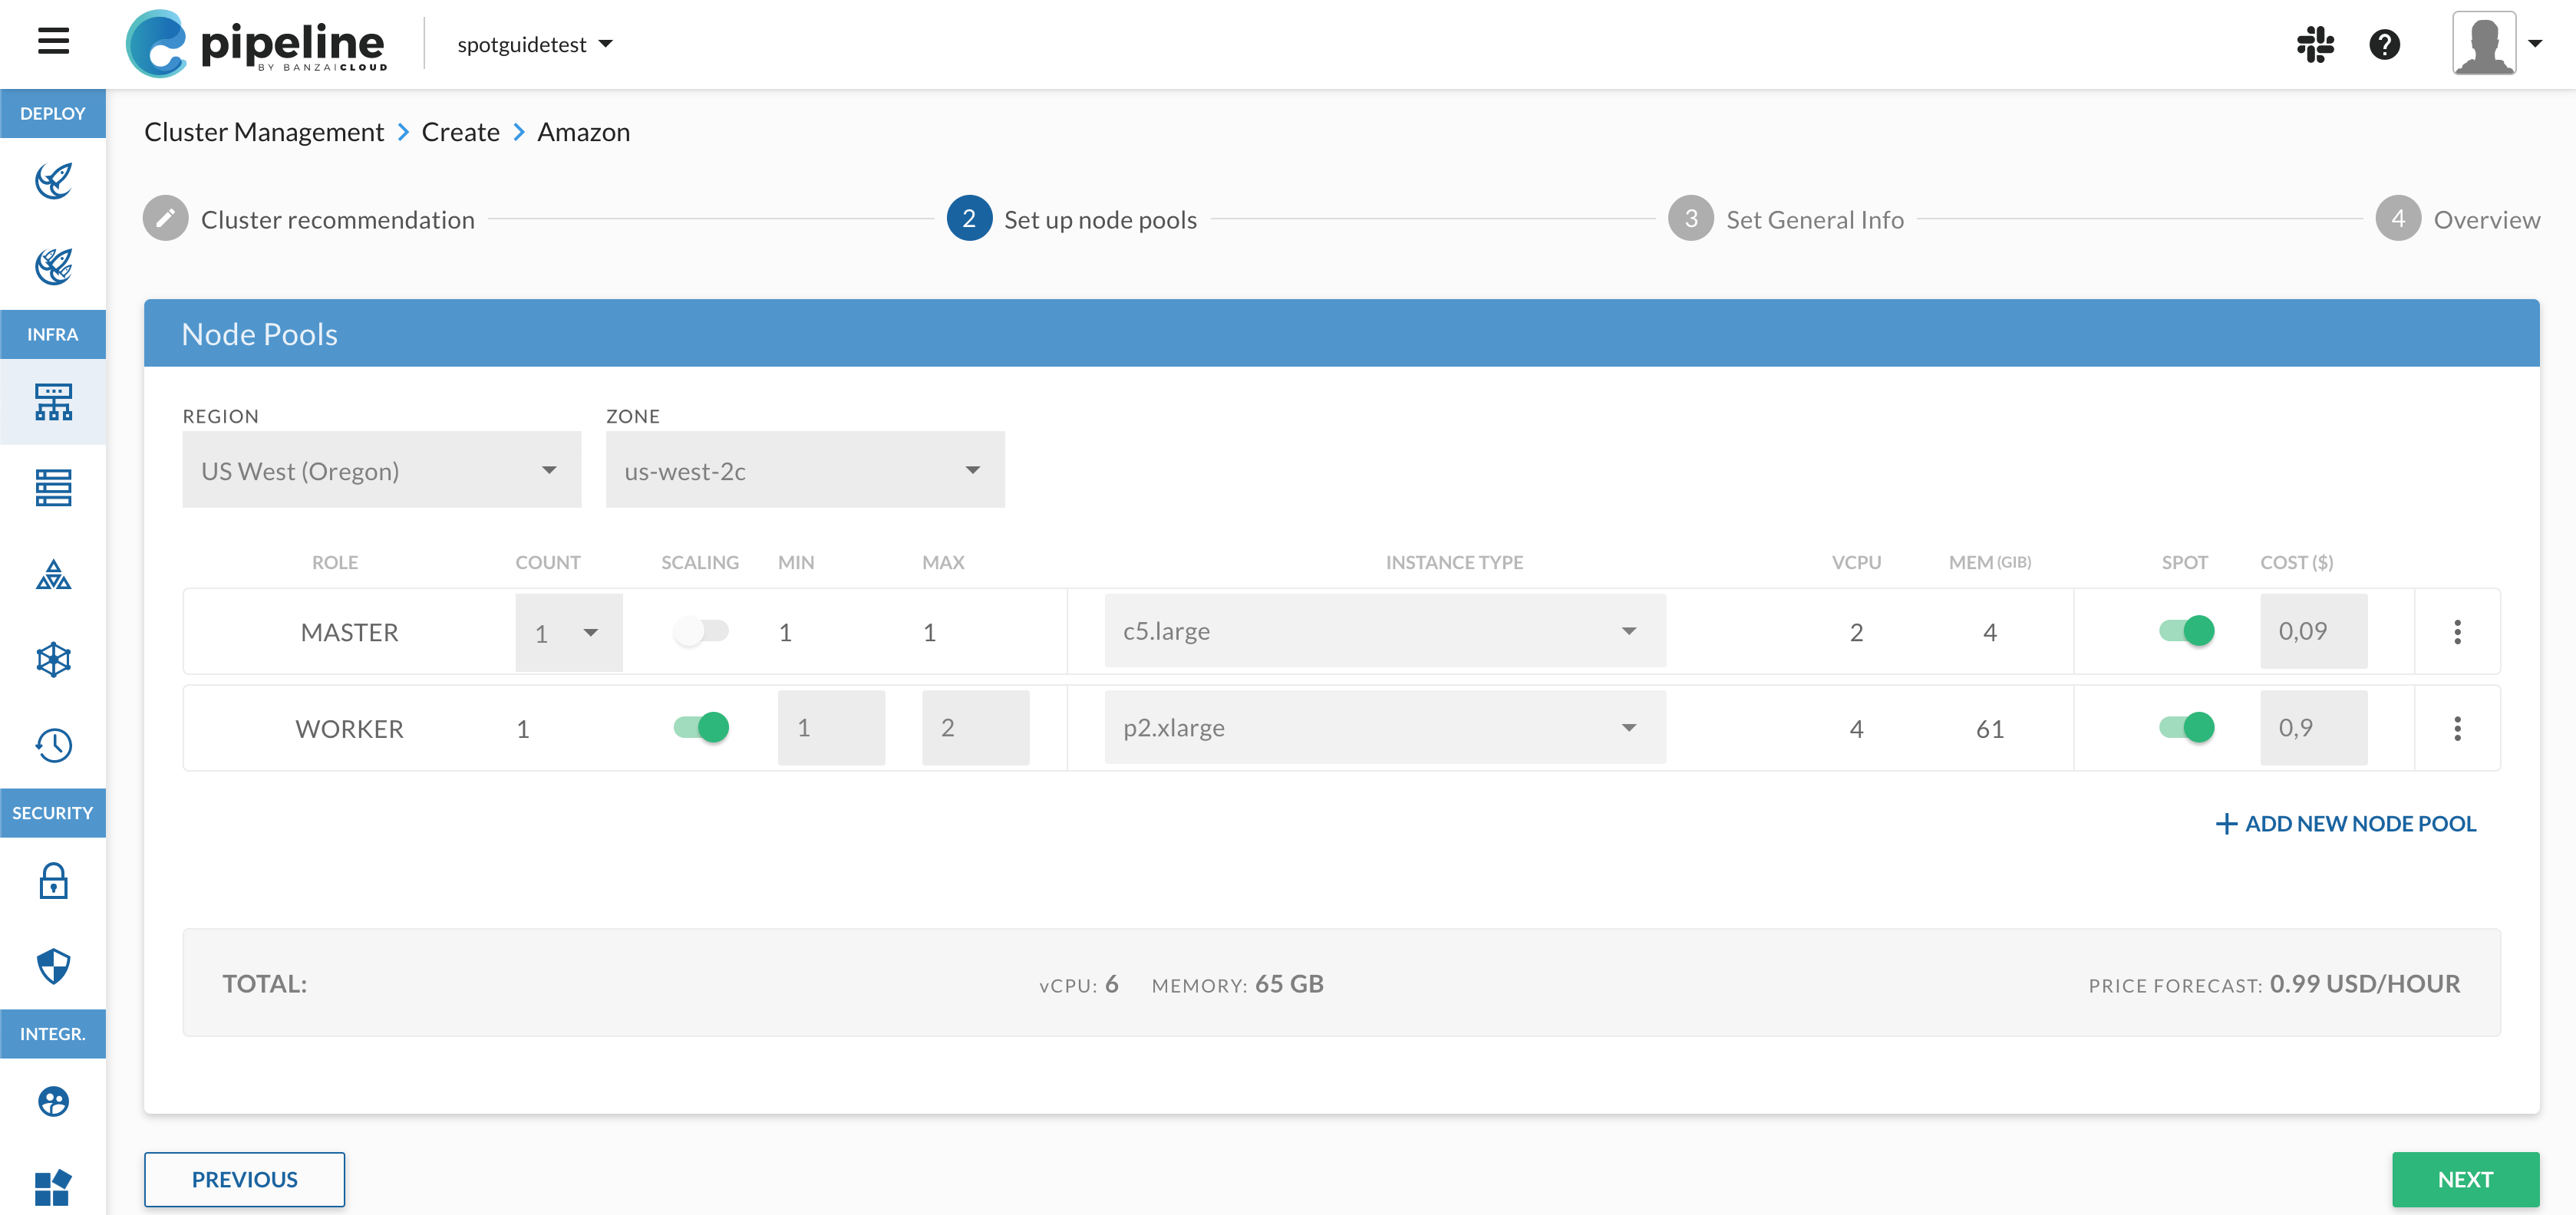
-
Set the INSTANCE TYPE of the WORKER nodes to a
p2orp3type, for example, p2.xlarge. These are the ones that have GPU. Click NEXT. -
Add a name to the cluster, for example, demo-gpu-cluster.
-
Select the secret you have uploaded, then click NEXT.
-
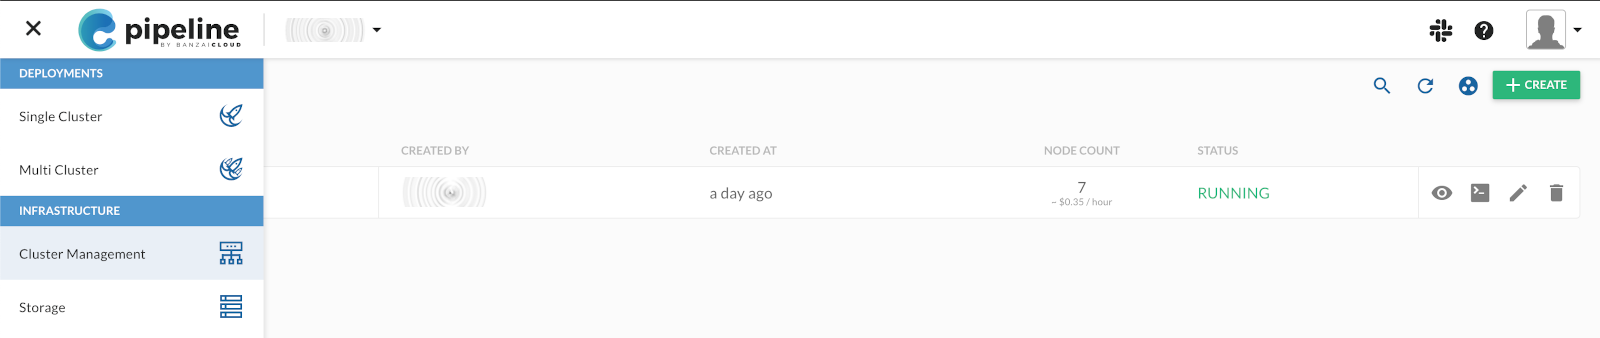
Click CREATE, then wait until the cluster is running. This usually takes at least a few minutes - refresh your browser window to verify that the cluster is in RUNNING state.
Create new cluster from the CLI 🔗︎
Of course, you can achieve the same results from the CLI as well.
-
Log in to Pipeline.
-
Create a secret that stores your AWS credentials. If your AWS credentials are available in the local environment, you can simply run:
banzai secret create -t amazon -n pke-aws-secret --magic --tag "" -
Edit the following JSON file that describes the cluster to create. Note that you have to adjust the following entries:
- location: The AWS region for the cluster, for example,
eu-west-1. - secretName: The name of the secret you have uploaded to Pipeline
- zones: Change it for both the master node and the pool1 node pool. GPU instances are usually not available in
azones, so use a zone where they are available (for example,eu-west-1c). - instanceType: For the worker node pool, use a
p2or ap3instance type, for example,p2.xlarge.
{ "name": "demo-gpu-cluster", "location": "us-west-2", "cloud": "amazon", "secretName": "<name-of-your-aws-credential>", "properties": { "pke": { "nodepools": [ { "name": "master", "roles": [ "master" ], "provider": "amazon", "autoscaling": false, "providerConfig": { "autoScalingGroup": { "name": "master", "zones": [ "us-west-2c" ], "instanceType": "c5.large", "launchConfigurationName": "master", "size": { "desired": 1, "min": 1, "max": 1 } } } }, { "name": "pool1", "roles": [ "worker" ], "provider": "amazon", "autoscaling": true, "providerConfig": { "autoScalingGroup": { "name": "pool1", "zones": [ "us-west-2c" ], "instanceType": "p2.xlarge", "launchConfigurationName": "pool1", "size": { "desired": 1, "min": 1, "max": 2 } } } } ], "kubernetes": { "version": "1.18.6", "rbac": { "enabled": true } }, "cri": { "runtime": "containerd" } } } } - location: The AWS region for the cluster, for example,
-
When you are done editing, save the JSON into a file, and run the following command:
banzai cluster create --file <your-json-file>Then wait until the cluster is running. You can monitor the status of the cluster using the
banzai cluster get <clustername>command.
Install the NVIDIA device plugin 🔗︎
In order to use the GPU resources in the cluster, you need to install the NVIDIA device plugin for Kubernetes on every GPU node.
-
If you haven’t already done so, install the banzai CLI tool on your computer:
curl https://getpipeline.sh | sh -
Log in to the Pipeline instance you are using. For the Enterprise Preview, that’s:
banzai login --endpoint=<your-pipeline-url>/pipeline -
Log in to the cluster you have created:
banzai cluster shell --cluster-name <name-of-your-gpu-cluster> -
Install the plugin using the following commands:
helm repo add nvdp https://nvidia.github.io/k8s-device-plugin
helm repo update
helm install \
    --version=0.6.0 \
    --generate-name \
    --set nodeSelector."node\.banzaicloud\.io/instanceTypeCategory"=GPU_instance \
    nvdp/nvidia-device-plugin
The
nodeSelectormakes sure that the plugin is only installed on GPU nodes (it would fail to start otherwise).Note: We plan to automate this step in Pipeline, so in the future you can install the plugin with the click of a button.
Test the GPU nodes 🔗︎
The easiest way to test the cluster is running a container with GPU tools in it.
-
Run the following command to start a container (might take a few seconds because of the large image) that you can exec into. If it gets stuck in
PENDINGstate, try to describe it for errors (for example, the device plugin might fail).cat <<EOF | kubectl apply -f - apiVersion: v1 kind: Pod metadata: name: gpu-pod spec: containers: - name: cuda-container image: nvidia/cuda:9.0-devel command: ["sleep"] args: ["10000"] resources: limits: nvidia.com/gpu: 1 # requesting 1 GPU core EOFIf everything goes well, you get the pod/gpu-pod created message.
-
Now you can open a shell in the container:
kubectl exec -it gpu-pod -- bashIf you get an error message like error: unable to upgrade connection: container not found (“cuda-container”), wait a minute and retry the command - it’s possible that the container hasn’t started yet.
-
Run a few test commands in the container, for example:
nvidia-smi
+-----------------------------------------------------------------------------+
| NVIDIA-SMI 450.51.06    Driver Version: 450.51.06    CUDA Version: 11.0     |
|-------------------------------+----------------------+----------------------+
| GPU  Name        Persistence-M| Bus-Id        Disp.A | Volatile Uncorr. ECC |
| Fan  Temp  Perf  Pwr:Usage/Cap|         Memory-Usage | GPU-Util  Compute M. |
|                               |                      |               MIG M. |
|===============================+======================+======================|
|   0  Tesla V100-SXM2...  On   | 00000000:00:1D.0 Off |                    0 |
| N/A   40C    P0    42W / 300W |      0MiB / 16160MiB |      0%      Default |
|                               |                      |                  N/A |
+-------------------------------+----------------------+----------------------+

+-----------------------------------------------------------------------------+
| Processes:                                                                  |
|  GPU   GI   CI        PID   Type   Process name                  GPU Memory |
|        ID   ID                                                   Usage      |
|=============================================================================|
|  No running processes found                                                 |
+-----------------------------------------------------------------------------+
The output shows you that the instance has GPU support.
Cleaning up 🔗︎
When you are done experimenting with your GPU-accelerated cluster, delete cluster either using the Pipeline web UI, or by running the following command:
banzai cluster delete --cluster-name=<name-of-your-gpu-cluster>


