
Overview 🔗︎
As an example, this guide shows you how to deploy the WordPress application on a Kubernetes cluster.
- To use the Pipeline web interface to deploy the application, see Deploy WordPress from the UI.
- To use the Banzai CLI tool to deploy the application, see Deploy WordPress from the CLI.
Prerequisites 🔗︎
To complete this procedure, you must already have:
- Installed the Banzai CLI tool.
- Logged in to a Banzai Cloud Pipeline instance.
- Have a cluster managed by Banzai Cloud Pipeline.
Deploy WordPress from the UI 🔗︎
-
Select
 > Single cluster.
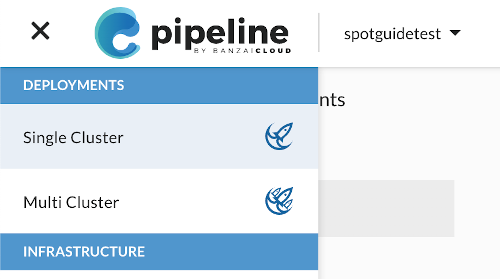
Pipeline displays the deployments of the first cluster in your organization.
-
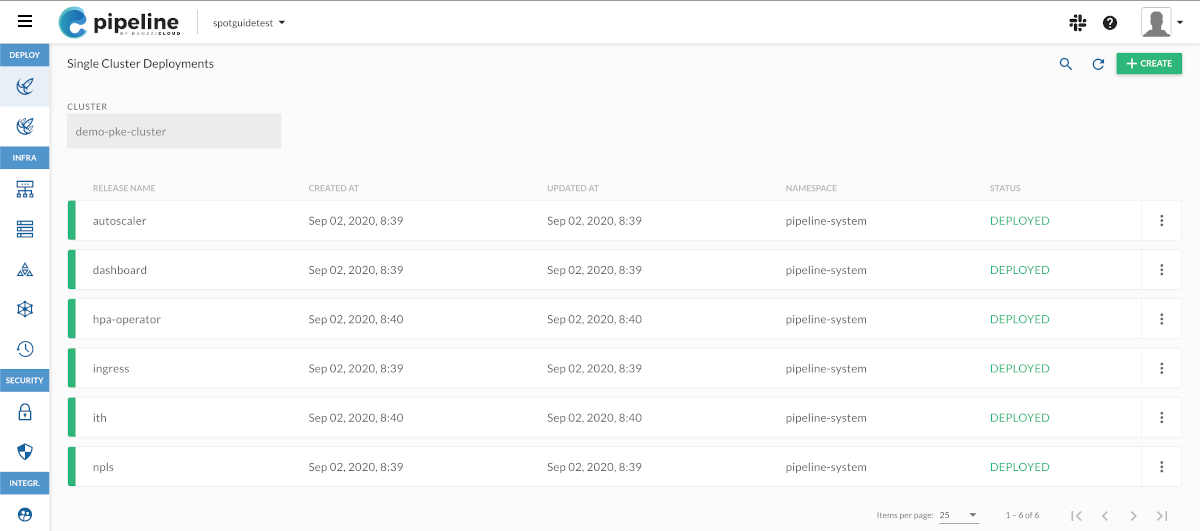
(Optional) If you have multiple clusters, select the cluster where you want to deploy the application from the CLUSTER field.
-
Click CREATE.
-
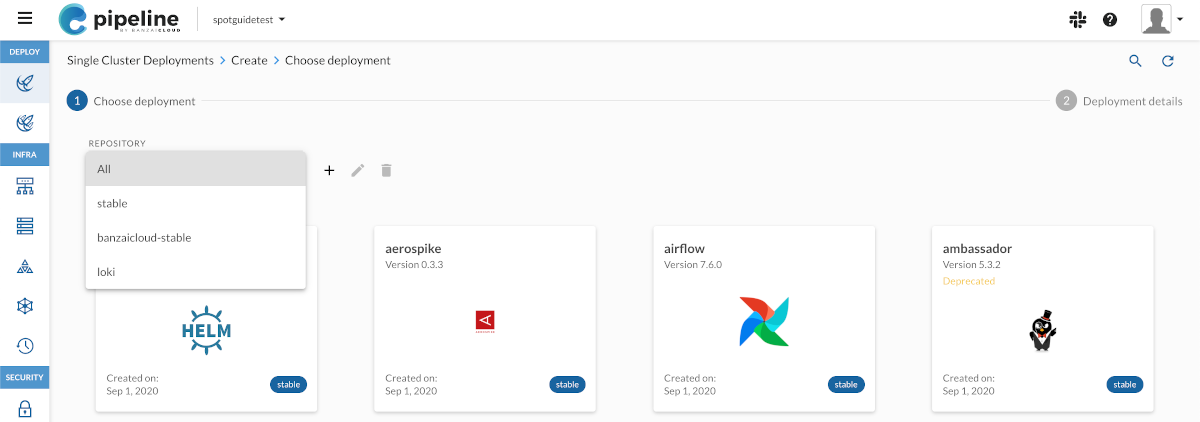
Select the repository that contains the application you want to deploy, or select All to show the deployments of every available repositories.
-
Select the application you want to deploy. Use the Search
 field to find it quickly.
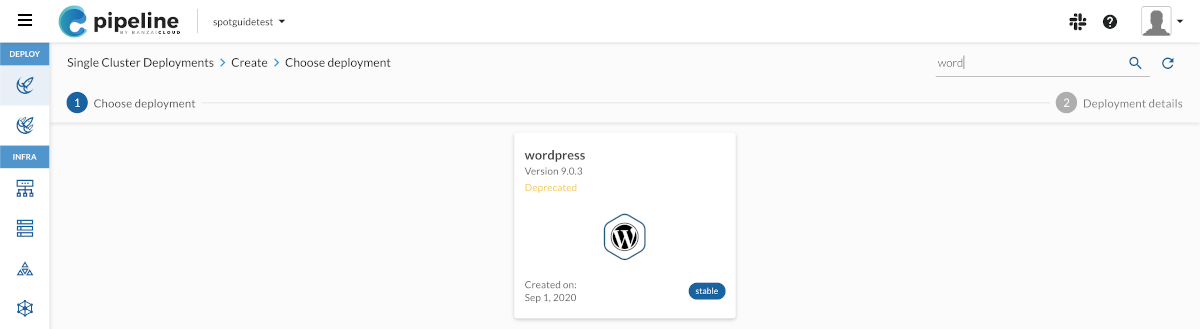
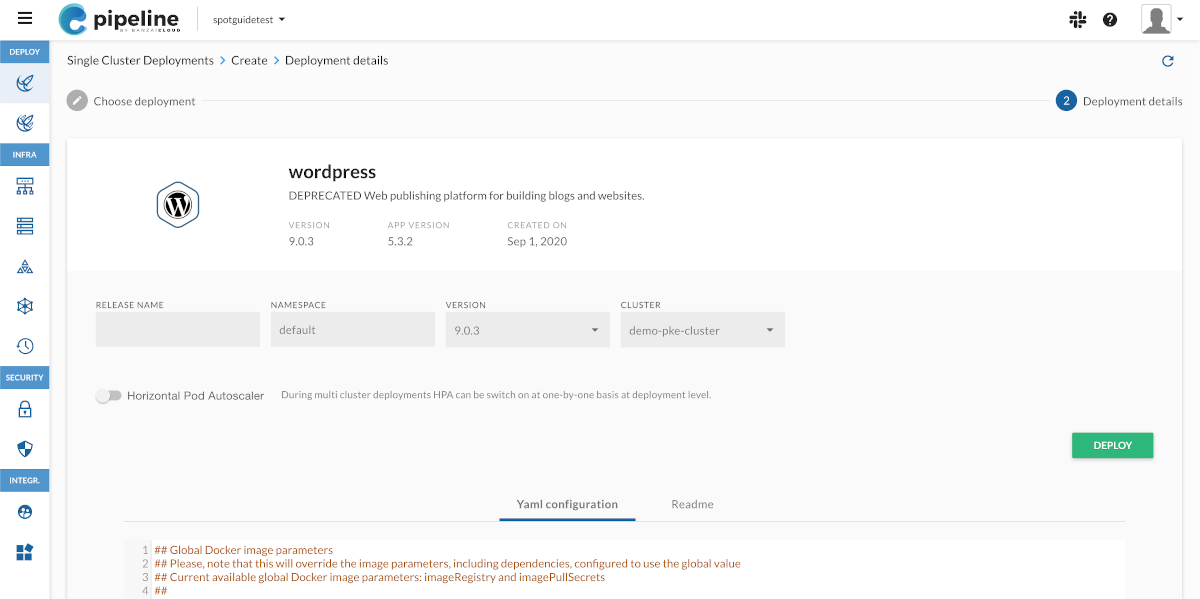
-
Set the details of the deployment as needed for your environment, for example, the release name or the namespace. When evaluating Pipeline in a test cluster, you can use the defaults. Click DEPLOY.
-
Wait until the deployment finishes. Depending on the application you are deploying and the network access of the cluster, this can take a few minutes. When the deployment is ready, Pipeline displays the results and notes of the deployment.
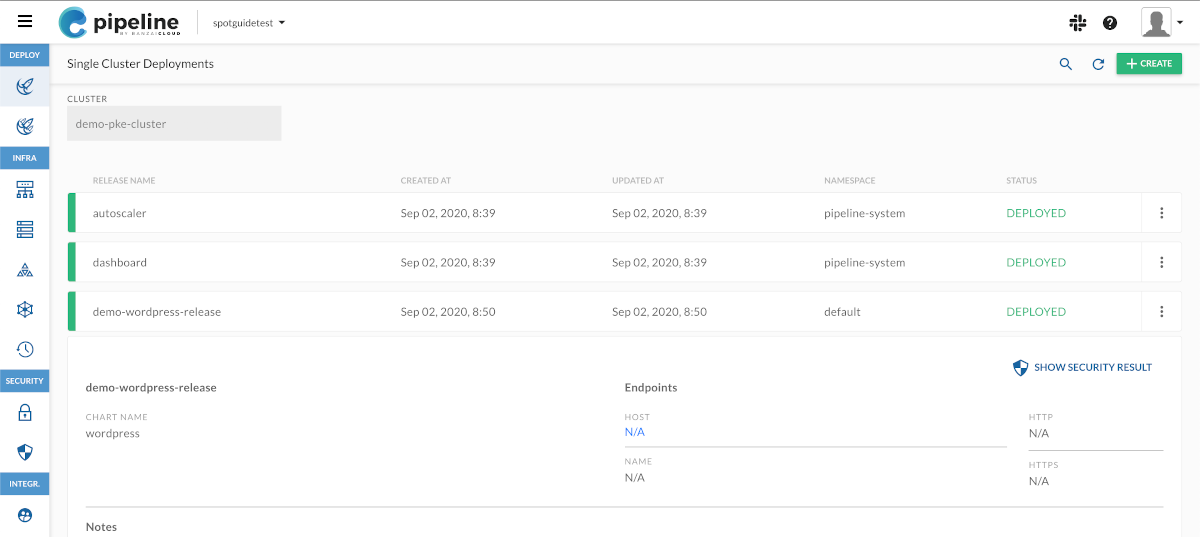
For example, when deploying Wordpress, the notes include the credentials and instructions on how to access the deployed application.
-
(Optional) If you want to access the deployed application, complete the following steps.
-
Select
> Cluster Management > <your-cluster> >  .
. -
Copy the command from the Log in to cluster field.
-
Open a terminal and run the command to log in to the cluster.
-
Open the WordPress service in a browser window by running the following command (as displayed in the deployment output).
open http://$(kubectl get svc demo-wordpress-release -o jsonpath='{.status.loadBalancer.ingress[0].hostname}')The WordPress page automatically opens in your default browser.
-
Deploy WordPress from the CLI 🔗︎
-
(Optional) If you have multiple clusters, list your clusters to select the cluster where you’d like to deploy the WordPress application:
banzai cluster list -
Start an interactive shell to the your cluster. You can use the
banzaiCLI to open a new shell session with the kubeconfig environment of your selected cluster:banzai cluster shellSelect the cluster to connect from the terminal. Alternatively, you can use the
banzai cluster --cluster=cluster-name shellcommand to select the cluster. -
The
shellcommand opens a session to the cluster using your default shell. The Banzai CLI automatically installs thekubectlandhelmcommands on your cluster and adds them to the path. It also synchronizes the repository list with Pipeline so you can manage the same packages from the command line and the web interface.Helm is the de-facto package manager for Kubernetes, which helps you manage Kubernetes applications. You can install, upgrade, list, or delete applications. Read our blog for more information about Helm post.
-
Update the Helm repository:
helm repo update -
Install the WordPress chart using the
helmclient. The command you have to use differs depending on the type of cluster you are running Banzai Cloud Pipeline platform on. For example:-
If you have installed Banzai Cloud Pipeline to AWS:
helm install --name demo-wordpress-release stable/wordpress --set wordpressUsername=banzai --set wordpressPassword=banzai -
If you have installed Banzai Cloud Pipeline locally:
helm install --name demo-wordpress-release stable/wordpress --set wordpressUsername=banzai --set wordpressPassword=banzai --set service.type=ClusterIP
Expected output: The login credentials for the installed WordPress instance are displayed, for example:
Login with the following credentials to see your blog
echo Username: banzai
echo Password: $(kubectl get secret --namespace default demo-wordpress-release -o jsonpath="{.data.wordpress-password}" | base64 --decode)
To distinguish releases from each other, Helm attaches a
release nameto every deployment. You can specify the name of the release with the--nameoption, or let Helm generate one. Helm Charts are identified by[repository name]/[chart-name]:[version]. -
-
List the deployments on the cluster and check their status:
helm list -
(Optional) If you want to access the deployed application, open the WordPress service in a browser window by running the following command (as displayed in the Helm output).
-
If you have installed Banzai Cloud Pipeline to AWS:
open http://$(kubectl get svc demo-wordpress-release -o jsonpath='{.status.loadBalancer.ingress[0].hostname}')The WordPress page automatically opens in your default browser.
-
If you have installed Banzai Cloud Pipeline locally:
kubectl port-forward --namespace default svc/demo-wordpress-release 8080:80Open the following address in your browser: http://127.0.0.1:8080/
-
-
Finally if you don’t need the deployment anymore, simply delete it.
helm uninstall demo-wordpress-release
Next steps 🔗︎
Once you have deployed workload, try out the cluster features of Banzai Cloud Pipeline, or dive into the details of deployments.
If you have finished experimenting with your cluster, you can delete it using Pipeline.


